A Backpacker?s Guide to Making Every Ounce Count: Tips and Tricks for Every Hike (2015)
CHAPTER TWELVE
DIY ITEMS
Another area to lighten your pack might be to make your own gear. It has been my experience that some DIY gear may not cost less money; in fact, most DIY projects, that I have played around with, did cost a bit more. The thing with making your own gear is that you will have the pride of having made it yourself, to your specifications, and it may even be a little bit lighter. Our goal is, after all, obtaining a lighter pack.
Some DIY items I have made are a stove, hammock, rain fly, and even a bug net. I found some wedding tulle, left over from our wedding, and took a large piece of the material and attached the bug net into a DIY hammock I made. It worked great the first night, but on the second night it ripped and was ruined. Luckily, it was a cool night, so bugs were not an issue, but I learned then, on the trip, that tulle is not a good material for bug netting. Had I done a better job testing from home, I would have opted for some other stronger material.
I made a DIY wood saw that I have taken on a few trips. It is fairly light at 9 ⅝ ounces.
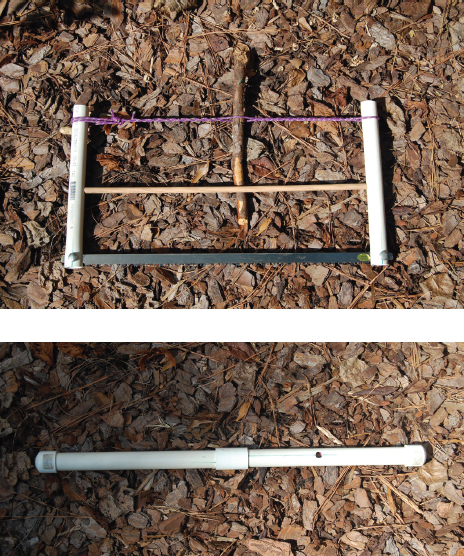
I have even made a compact fishing kit with line, weights, and lures out of PVC pipe. It doesn’t go backpacking with me because of the weight factor, not to mention I don’t want to deal with cleaning and cooking fish. It is primarily for my Get Home Bag. The point is that I made it, and it works—at least in testing it did. I will take it to the pond nearby and really test it, but that is what this is all about. Making something yourself and testing it from home.
I have also modified much of my gear. My ENO hammock, for instance, does not come with a structural ridgeline, so I added one.
My ENO bug net has a zipper that is vertical. In my opinion this is a bad design because to enter a hammock you lay flat and bring your legs into the hammock body. You don’t walk upright into the hammock. So I cut the zipper out completely and added some shock cord in the bottom. It works great, and I lightened the load by removing some of the material of the netting as well as the zipper. I did weigh it before and after, and the results are as follows:
Before: 16.72 ounces (474 grams)
After: 15.55 ounces (441 grams)
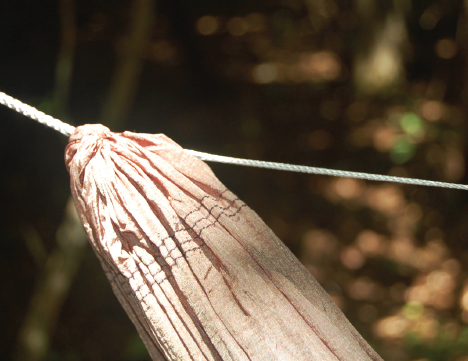
I also modified my ENO hammock with a different suspension than what it came with.
My new suspension is made from Amsteel, which is ultra-light and super strong. On the hammockforums.net site, you can learn a ton of DIY ideas. You can learn how to make your own stoves, which I discussed earlier, as well as hammocks. They are so much lighter than some of the other hammock brands out there, and if you are handy with a sewing machine, you can make your own. Your own bug net and rain fly.
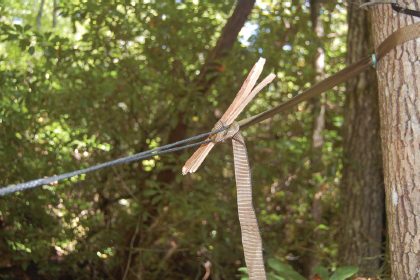
Making a hammock is as easy as cutting the length of fabric needed and sewing in a hem. Then gather the ends and add your suspension.
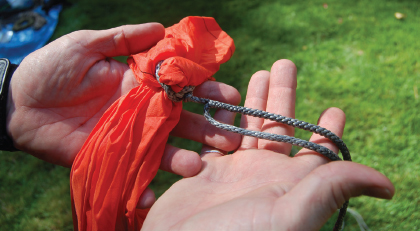
Use either some rope, or other cordage, or you can make the suspension out of Amsteel in the form of Whoopie Slings. I don’t recommend paracord. Paracord stretches, and you may find yourself waking up on the ground; 550 cord has many uses while backpacking, but using 550 as a suspension might not work for you. In one of the first hammocks I made, I used 550 cord, and it did stretch overnight—not by much in that I did not hit the ground, but it still stretched. I would use Amsteel.
Go to www.hammockforums.net and lurk around a while, and you will find many ideas, tips, and projects for DIY. Look me up if you decide to go there. My user name is GaHammockGuy.
Making your own gear will give you such a great feeling of satisfaction that you made it all by yourself.