Hello, Bicycle: An Inspired Guide to the Two-Wheeled Life (2016)

A bicycle doesn’t work without someone pedaling it, and to pedal it, you need energy. Fortunately, fueling yourself up for riding is much more interesting than fueling up a car. When it comes to bike fuel, we’re talking about food. In fact, your miles per gallon here are way more compelling; think how far you can ride after eating a good breakfast burrito! Just be sure to give your body the time it needs to digest before hopping on the bike.
Some people might say that well-pumped tires, or well-tightened brakes are essential to a good ride. I’d say the real essential is a good meal, because if you’re not well fed, that ride isn’t going to be half as great as it could be. Food and water are essential to keeping us going on the bicycle—and, while we’re at it, in life in general—and because they’re essential, why not have a little fun with them?
To be perfectly honest, there’s nothing really that special about eating well for a two-wheeled lifestyle. It doesn’t require any secret tricks that only cyclists know about. It doesn’t take special pills or special drinks. It is exactly like eating healthy in general. In other words, leafy greens, nuts and seeds, and all that other good stuff you know that you should be eating more of. But this type of eating isn’t about cutting things out; it’s about embracing good food and good ingredients. This chapter is full of ideas for healthy and tasty snacks and meals that will keep any cyclist fueled and happy. Because life is about more than energy bars and gels.
![]()
STAY HYDRATED
![]()
Before we can talk about food, we have to talk about water. Water is, after all, much more essential than food. You can ride on an empty stomach, but get dehydrated and you’re going to get into big trouble.
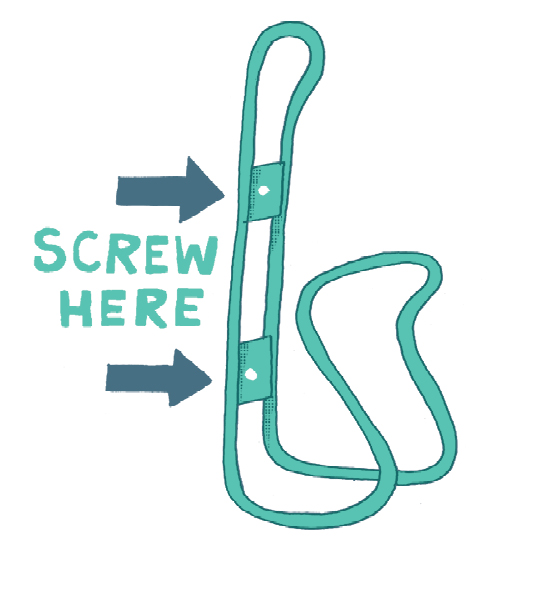
If you haven’t already, install a water bottle cage on your bicycle. Here you can easily store a water bottle or, on Friday nights, a beer bottle. Mason jars have been known to fit as well, making transporting more entertaining libations quite easy.
Besides water bottle cages, there are also hydration backpacks, with a pocket built to hold a hydration bladder. Hydration bladders are those IV bag-looking things with a tube coming out; they sit against your back in the backpack, and the tube has a valve at the end that clips to your backpack strap on your shoulder and makes drinking as easy as grabbing the end of the tube and putting it in your mouth. These come in a variety of sizes and with a variety of bells and whistles. The important thing to consider is that lighter is better, and if you get a bigger bag, chances are you will fill it up. A few pouches for stashing granola bars, a few bike tools, and maybe a jacket in case it rains are all great, but you don’t need to bring your entire pantry and wardrobe with you on your ride. Keep things simple.
If you use a hydration pack, here’s one essential piece of advice: keep it clean. There are few things more disgusting than drinking water with a hint of mold. That’s easy to avoid as long as you regularly clean your hydration system. Don’t let water sit in the hydration bladder for an extended period of time; dump it out every time you are done using it, then give it a quick rinse. Once a week, if you’re using it regularly, give it a full wash. Warm water and dishwashing soap will do the trick, but you can also use any of your other preferred home cleaning methods, like vinegar or vinegar and baking soda.
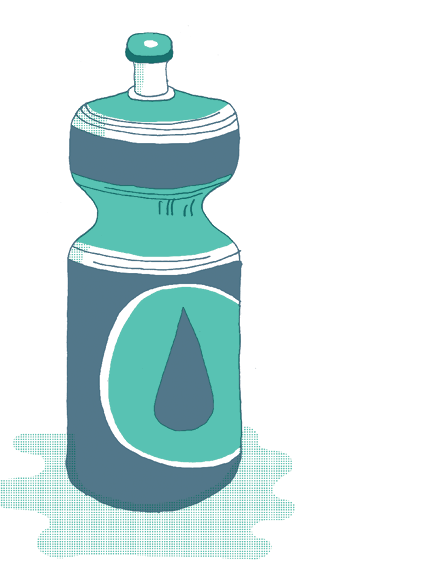
All of this also applies to your water bottles. While it may be tempting to leave the water bottles in the cages when you get home, if they sit in there too long, they can start tasting moldy, so you’ll want to dump them out. Right after a ride, however, the water is still good, so either drink up the rest, or water the houseplants with it.
![]()
EATING TO FUEL
![]()
If there is one thing to remember, it is this: You need real food, and that’s that. None of those refined, processed, empty-calorie junk foods so ubiquitous in vending machines and fast-food franchises. Unless you are a professional rider, eating well doesn’t have to be a precise science. A well-rounded, balanced diet, full of plenty of vegetables, fruits, lean proteins, whole grains, and nuts and seeds will get you far. Oh, and nut butters. You want the nut butters.
![]()
HOW MUCH DO I NEED TO EAT?
![]()
Take off for an eighty-mile ride on a Saturday without a few provisions stashed in your pockets, and you are going to be one sad cyclist. You’re headed straight for “bonk” land, as it’s called in the cycling world. But bonking, or hitting a wall, can be prevented.
How much you need to eat depends on you, just as everyone’s usual eating habits differ from person to person. Some people can down five peanut-butter-and-jelly sandwiches on a ride and still want more; others are happy with a few granola bars and a piece of fruit. The only way to figure out your optimal riding food, and the optimal quantity, is to experiment. But in the beginning, better to err on the side of too much than too little. You can always carry extra food that you don’t eat, but starving on a ride with nothing left to eat is a more difficult problem to solve.
![]()
PRERIDE FOODS
![]()
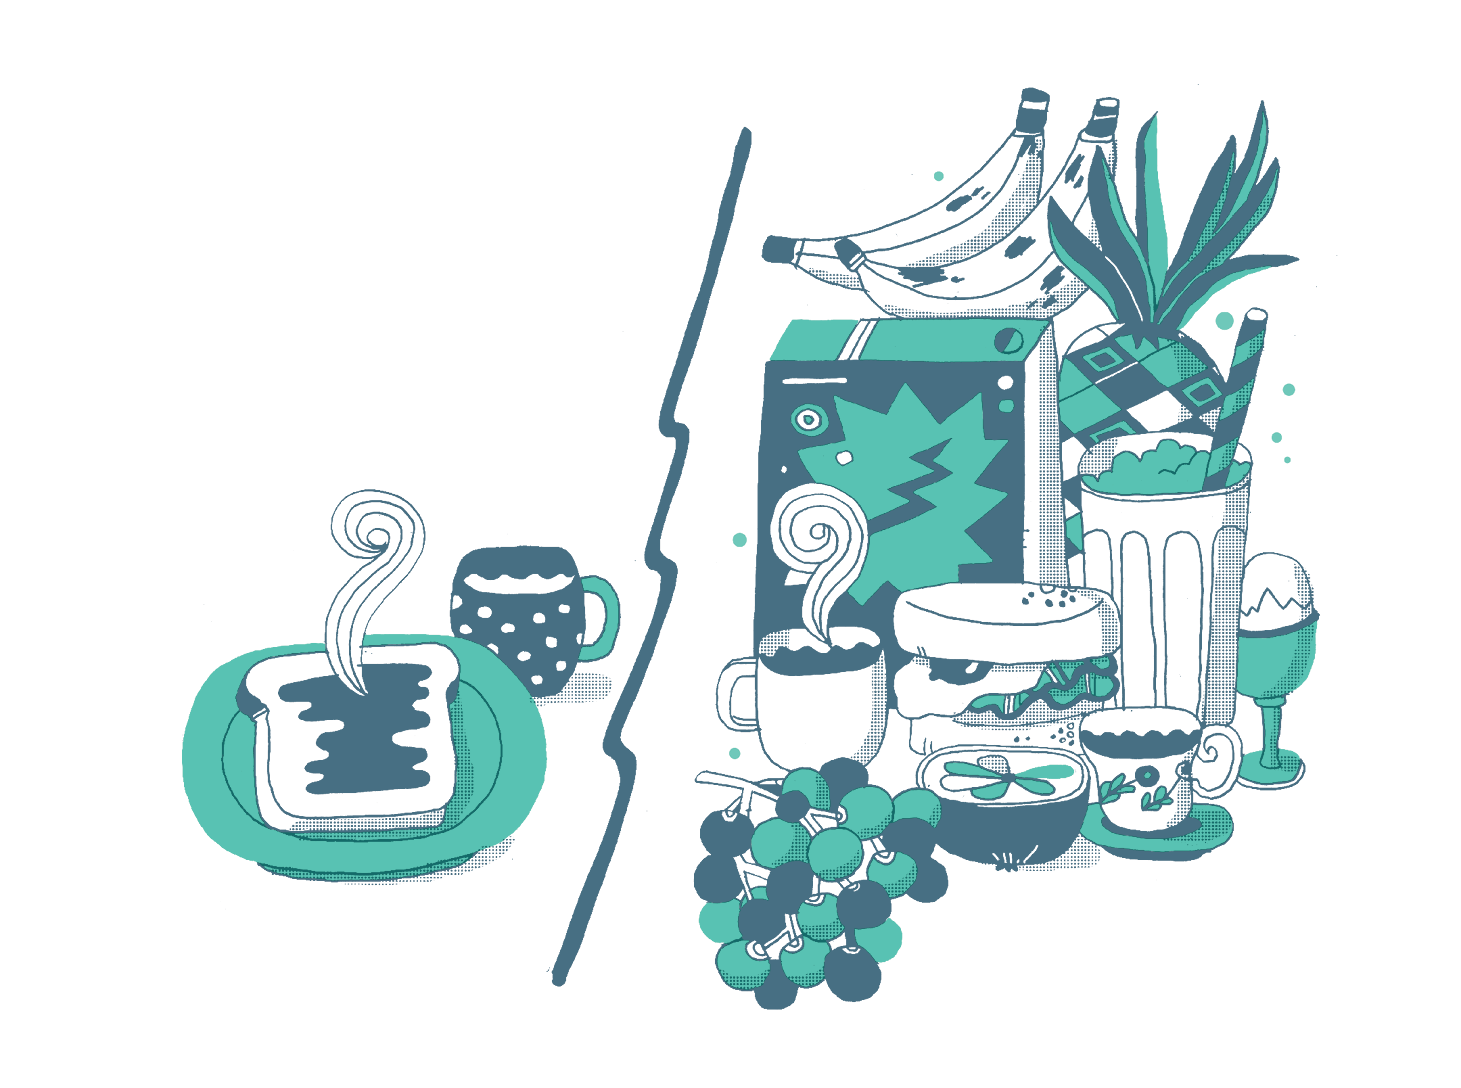
There are differing theories on whether you should eat a huge breakfast or not eat at all. I will say this: ultimately it’s up to you. You and you alone can determine what makes you feel best. If you do like to eat before a ride, don’t cram yourself full of a huge breakfast fifteen minutes before leaving the house, because you want to respect your body enough to give it time to digest. If you’ve got an early morning ride and don’t have the time for a leisurely breakfast but are feeling hungry, opt for easily digested foods like smoothies. Really hate eating before you ride? It’s okay. Most of us have enough fat stored that our bodies can burn as fuel for a few hours.


Overnight porridges are the lazy person’s breakfast. Or the Not a Morning Person’s breakfast. Overnight porridge doesn’t require any cooking in the morning; just throw a few ingredients together in a bowl, or jar with lid for easy transport, and when the time is right, dig into your instant breakfast. While overnight porridge is often made with oats, buckwheat is also high in fiber and full of nutrients like manganese, copper, magnesium, phosphorus, and potassium, and gives this porridge a nutty, crunchy consistency. The kind of stuff a healthy cyclist wants to be consuming. In particular, if you’re a person who just can’t do breakfast in the morning, pop this in a jar with a sealable lid; then you can put it in your bag—or even your water bottle cage—and take it to work with you.
¼ cup (1.5 ounces, 42 grams) raw buckwheat groats
½ cup (120 milliliters) water, for soaking
¼ cup (60 milliliters) dairy or nut milk of your choice
1 teaspoon ground cinnamon
1 teaspoon ground cardamom
Pinch of salt
POTENTIAL TOPPINGS
Yogurt
Fresh or dried fruit
Chopped nuts and/or seeds
Honey
Before you go to bed, place the groats in a bowl with the water and let soak overnight.
In the morning, rinse the soaked groats (they get a bit slimy otherwise). Place the rinsed groats in a bowl or a jar and add the milk, spices, and salt. Add whatever you like, or whatever you have on hand: fresh blueberries, chopped dried apricots, pumpkin seeds, chopped walnuts, and so on. Yogurt will give the porridge a thicker consistency.

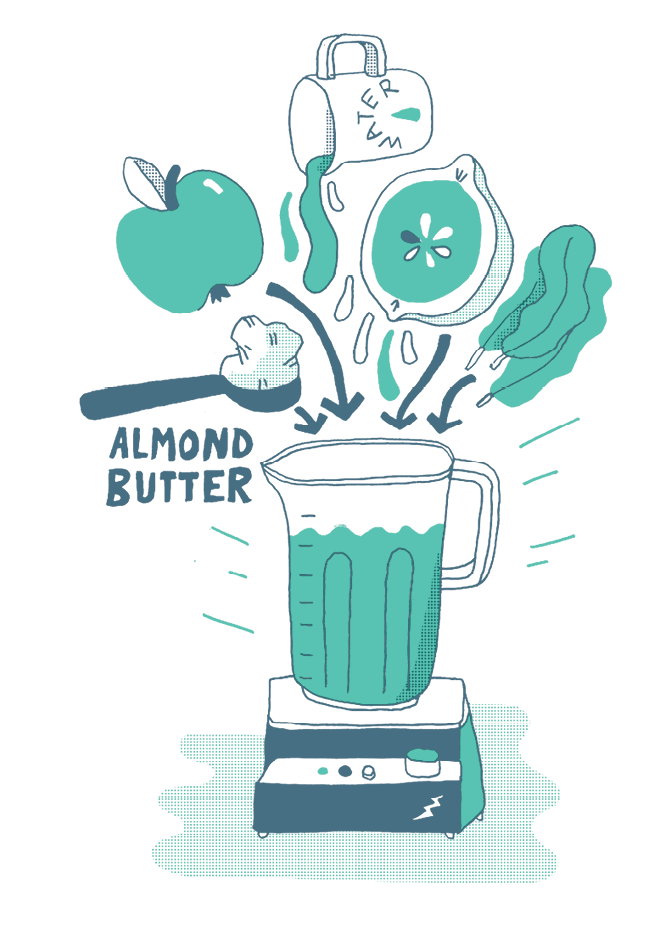
One of the easiest ways to get a breakfast full of good stuff in you is just to cram a bunch of fresh goodies into a blender and press puree. It takes less time than preparing a cooked breakfast, and it’s a nice energy-boosting way to start the day. Smoothies can be made from pretty much anything a blender can handle, and you’re limited only by your creativity and what’s in your refrigerator. This one is heavy on the greens. The almond butter gives it a creamier texture and just a hint of almond flavor. If you’re not a fan of almond butter, you can make it without.
1 medium-size apple, cored and sliced
A handful of spinach leaves
Freshly squeezed juice of half a lemon
About 1 cup (240 milliliters) water, plus more as needed
2 tablespoons almond butter
Place all ingredients in a blender and puree until smooth. Add more water for a thinner consistency.


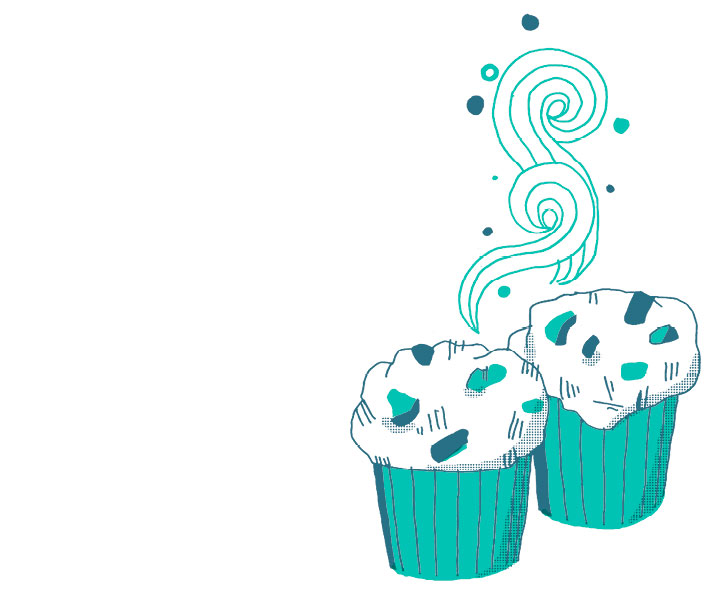
Muffins are an easy breakfast or postride snack. These are made with ground flaxseeds and almond meal, giving them a denser consistency and making them just a little healthier than ordinary flour muffins (and gluten free). Feel free to switch out the pears for other fruit, depending on what’s in season. Blueberries and apples work well, too.
½ cup (3 ounces, 85 grams) whole flaxseeds, ground fine, or about ¾ cup flax meal
¾ cup (3.5 ounces, 100 grams) raw almonds, ground fine, equal to about 1 cup plus 3 tablespoons almond meal
1 teaspoon baking soda
½ teaspoon salt
2 teaspoons ground cinnamon
1 teaspoon ground cardamom
1 teaspoon ground ginger
2 eggs
⅓ cup (80 milliliters) extra-virgin olive oil
3 tablespoons honey
1 tablespoon apple cider vinegar
1 medium pear, cored and diced
½ cup (3 ounces, 85 grams) raisins (optional)
Preheat the oven to 350°F (175°C). In a bowl, combine all the dry ingredients.
In a separate bowl, whisk the eggs until frothy. Add the olive oil, honey, and vinegar and whisk until well blended. Add the dry ingredients and stir until blended. Fold in the diced pear and the raisins and mix until well blended.
Spoon the batter into 12 silicone muffin baking cups or into a 12-cup muffin tin lined with paper muffin liners. Bake for 25 to 35 minutes, until the muffins are a dark brown. Remove from the oven and let cool in the cups or baking tin.
Pantry and Kitchen Essentials for Cyclists
![]()
Hannah Grant of hannahgrantcooking.com knows a thing or two about eating well and riding bikes. A chef hailing from Denmark, she’s the head chef of a professional racing team and cooks for them out of a truck during major international races. She’s the author of The Grand Tour Cookbook, a collection of recipes that tells the story of what her team ate during every single stage of the 2012 Tour de France. Here she shares her pantry and kitchen essentials.
COLD-PRESSED EXTRA-VIRGIN OLIVE OIL → Don’t be cheap when you buy olive oil; you want the good stuff. Cold-pressed extra-virgin olive oils are full of good fats for your body, and they’re easy to absorb and digest, which makes them a great addition to any meal. However, you don’t want to be cooking with these high-quality oils; use them in vinaigrettes or just drizzle over your food.
APPLE CIDER VINEGAR → You can make anything taste like heaven with a really good vinaigrette. A little apple cider vinegar, olive oil, and mustard, and you’ve got yourself a great addition to any meal. Apple cider vinegar is helpful for digestion as well.
CHIA SEEDS → Because of their versatility, chia seeds are a good go-to and can be an integral part of a healthy pantry. Chia seeds’ congealing properties work great to add body and binding properties to vegan and gluten-free dishes and baked goods, and they’re good in breads, as they help retain moisture.
DIJON MUSTARD → With a good mustard, you can make a tasty vinaigrette, and with a tasty vinaigrette you can spice up essentially anything that’s lying around in your refrigerator, which is why this, along with the apple cider vinegar and olive oil, are all in this top five list.
NUTS → Whether they’re eaten on their own or turned into nut butter, nuts are incredibly good for you. Grant makes all of her own nut butters, which she encourages people to do. As long as you have a food processor, never again will you have to buy commercial almond butter.
![]()
FOODS FOR THE RIDE
![]()
For ride food, you want things that will give you an energy boost and are easy to pack. When you are taking food with you on a ride, you have to think about what packs well in a jersey pocket: size, texture, and durability are important. Your best bet is to pack small items and wrap them tightly. Aluminum foil is great for holding wraps and sandwiches together, ensuring that the insides don’t ooze out all over the place; ziplock bags are good, too. Keep in mind that, particularly if you are storing stuff in your jersey pocket, you don’t want anything that is going to melt. Trail mix with a small amount of dark chocolate is one thing, but milk chocolate bars are prone to melting. However, stopping at a store in the middle of a ride to get an eat-on-the spot meltable treat (I’m thinking ice cream!) is an entirely different matter.
Energy boosters
Packaged bars and gels have become the choice of many cyclists because they’re simple to buy, but you don’t need chemically fabricated, Technicolor-packaged products to keep you sustained. Nutritious, packable ride foods are easy to make at home.

This isn’t your average carrot cake. Sweetened with honey, then spiced with cinnamon, cardamom, and ginger, these are the perfect thing to pop into your back jersey pocket or your panniers. You can cut the squares as small as you like, making them easy to transport and stash as a ride snack.
2 eggs
⅓ cup (80 milliliters) extra-virgin olive oil
¼ cup (60 milliliters) honey
1 tablespoon ground cinnamon
2 teaspoons ground cardamom
2 teaspoons ground ginger
1½ cup (5.25 ounces, 150 grams) finely ground almonds or almond meal
2 cups (6.25 ounces, 180 grams) shredded carrot
Freshly grated zest of 1 orange
¼ cup (1.25 ounces, 35 grams) sesame seeds
Preheat the oven to 350°F (175°C) and prepare an 8 by 8-inch baking pan by greasing or lining with parchment paper. In a bowl, whisk the eggs until frothy. Add the olive oil and honey and whisk until well blended.
Add the spices and ground almonds and mix together. Fold in the carrots, orange zest, and sesame seeds and mix until the batter is well blended.
Pour the batter into the prepared pan and bake for 35 to 45 minutes, until the top is a deep golden brown. Remove from the oven and let cool in the pan. Once cool, cut into 16 equal squares or more smaller squares. Store in an airtight container for up to three days, or for longer in the freezer.

Most power and energy bars are bland and boring. But not when you make them yourself. These use almond butter to hold their shape, and they’re easy to carry along on a ride. A warning, though: they are 100-percent addictive.
½ cup (1.75 ounces, 50 grams) ground flaxseeds or flax meal
2 tablespoons cocoa powder
¼ teaspoon sea salt
1 tablespoon freshly grated orange zest
½ cup (3 ounces, 85 grams) chocolate chips or finely chopped dark chocolate
2 tablespoons honey
½ cup (4.25 ounces, 120 grams) almond butter
½ cup (1.75 ounces, 50 grams) rolled oats
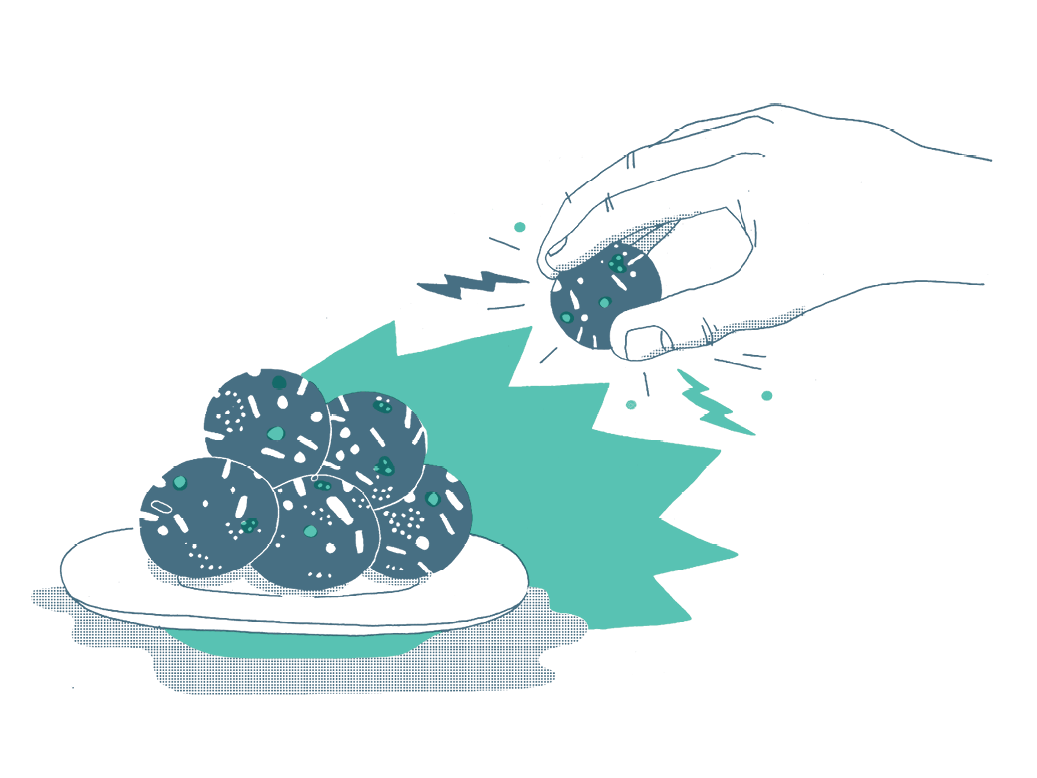
In a bowl, mix together the ground flaxseeds, cocoa powder, and salt. Stir in the orange zest and chocolate chips. Add the honey, almond butter, and oats and mix until well blended.
Scoop small handfuls of the dough and form into balls about the size of walnuts. Store in an airtight container in the refrigerator for up to a week.

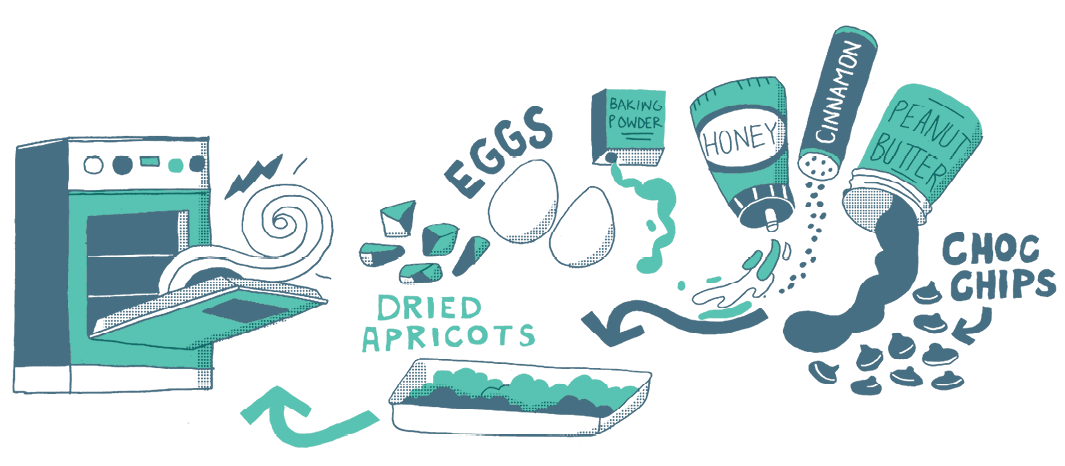
Peanut butter seems to have almost magical attributes when mixed with eggs; you don’t have to add any flour to it to turn it into cookies or bars. Which means we can toss all those complicated recipes. These are all about peanut butter and chocolate, with the addition of chopped dried apricot, and sweetened with honey, keeping you free from processed sugar. These bars are made to be dense; if you want them a little fluffier, add the optional baking soda.
2 eggs
¼ cup (60 milliliters) honey
1 cup (9.5 ounces, 270 grams) salted peanut butter (if you use unsalted, just add a little salt to the dough)
2 teaspoons ground cinnamon
½ teaspoon baking soda (optional)
½ cup (3 ounces, 85 grams) chocolate chips or finely chopped dark chocolate
6 dried apricots, chopped
Preheat the oven to 350°F (175°C). In a bowl, whisk the eggs until frothy. Add the honey and mix until well blended. Add the peanut butter, cinnamon, baking soda, chocolate and the chopped apricots. Mix until well blended.
Line a 8 by 8-inch baking dish with parchment paper. Turn the mixture into the pan and using a spatula, evenly spread it out (the mixture is very thick and will not spread out on its own).
Bake for 20 to 25 minutes, until deep golden brown. Remove from the oven and let cool. Cut into 16 equal squares and store in an airtight container. These will keep for three days at room temperature; to keep longer, store in freezer.

Granola bars are great and all, but what about chocolate granola bars? With chocolate and toasted hazelnuts, and the addition of sweet pieces of figs, these take the granola bar to new heights, and they stash easily for a tasty ride snack. These also work well in bite-size pieces; just cut them into smaller squares. If there are any crumbles left over after cutting the bars, save them and sprinkle over yogurt for a tasty granola topping.
1 cup (5 ounces, 140 grams) raw whole hazelnuts
2 cups (7 ounces, 200 grams) rolled oats
¼ cup cocoa powder
½ teaspoon sea salt
½ cup (2.25 ounces, 65 grams) pumpkin seeds
5 dried figs (about 3.5 ounces, 100 grams), finely chopped
⅓ cup (80 milliliters) extra-virgin olive oil
¼ cup (60 milliliters) honey
Preheat the oven to 325°F (160°C) and line an 8 by 8-inch pan with parchment paper. Place the hazelnuts on a baking tray and toast for 10 minutes. Remove from the oven and let cool. Place the hazelnuts inside a folded tea towel and roll back and forth to remove the skins. Finely chop the skinned hazelnuts.
In a bowl, mix the oats, cocoa powder, salt, pumpkin seeds, figs, and hazelnuts and stir until well blended.
In a saucepan, combine the olive oil and honey on low heat. As the mixture heats, whisk until it is well blended and thickens.
Pour the oil and honey mixture over the oats and mix together until evenly coated. Turn out the mixture into the prepared pan and press down very firmly, creating an even surface.
Bake for 25 to 30 minutes, until the bars have darkened around the edges. Remove from the oven and let cool completely before cutting into bars; a serrated knife works best. Store in an airtight container for up to one week.

Sandwiches and wraps
Simple sandwiches and wraps are a favorite of cyclists. Just about any spread that works for an ordinary sandwich or wrap will travel well, but spreads that stick the whole thing together without oozing out under pressure are ideal. Here are a few bike-friendly sandwich spreads that will help hold your sandwich or wrap together:
→ Any kind of nut butter (peanut, almond, sunflower, and so on)
→ Hummus
→ Pesto
→ Baba ghanoush
→ Mashed avocado

As for sandwich bread, dense bread tends to work the best, as it fares well when it get smashed and compressed into the bottom of your pocket. Sourdough bread has a lower glycemic index, which leads to longer-lasting energy. Tortillas can also be used to make burritos, a cycling favorite. Remember that you’re carrying them, though; don’t make them too big and overstuffed.

Pesto is traditionally made with pine nuts and Parmesan cheese, but here a little tahini (sesame butter) is used to achieve a creamy consistency that’s perfect for bike-friendly sandwiches. Parsley and spinach are the base of this spread, but feel free to switch it out for anything else that’s green and leafy: basil, kale, or mint are all tasty variations.
2 cups loosely packed (1 ounce, 30 grams) fresh parsley, well washed
1 large handful spinach, well washed
2 cloves garlic
2 tablespoons tahini
1 tablespoon freshly squeezed lemon juice
¼ cup (60 milliliters) extra-virgin olive oil
Salt
Freshly ground black pepper
In a food processor, pulse the parsley, spinach, and garlic until finely chopped. Add the tahini and lemon juice and pulse a few more times. While the food processor is going, pour in the olive oil, and puree until the pesto reaches the desired consistency. Add more olive oil as needed. Season with salt and pepper to taste. Refrigerate in an airtight container for three to five days.
![]()
EATING FOR FUN
![]()
Isn’t all eating fun? It certainly should be. And this is exactly why food and bikes go hand in hand. Whether you’re packing for a bike picnic or taking a dish to a potluck dinner, the essential thing about being a food lover and a bike lover is you have to know which foods travel well. And if you really want to transport that slightly travel-unfriendly food, then you need to know how to pack it well.
Bike-friendly foods
If you’ve committed to a two-wheeled life, then inevitably you’re going to start transporting food on your bicycle. When it comes to transporting food on your bike, think small and simple. If you’re an avid cook or baker and you start spending a lot of time on a bicycle, you’ll find that you will adapt your recipes accordingly. Biking with that triple layered meringue cake with whipped cream? Not so much. But making bite-size meringues, putting some whipped cream in a glass jar with a lid, and then assembling individual whipped cream-topped meringues when you arrive at your destination? Now that’s doable.
PACKING FOOD FOR BIKE TRANSPORTATION
Even if you make or buy bike-friendly foods, you still have to transport them. How exactly does one carry food items on a bicycle? Carefully. Some are lucky enough to have a bicycle with a big enough basket to hold a cake pan, or even a cargo tricycle in which they could essentially pack an entire dinner for ten. But let’s say you are without said luxuries. If it’s just you, your bike, and your carefully prepared food item, here are two ways of transporting it.

The backpack method. This method requires sealable food containers. After all, no one likes a backpack filled with salad. Recycled glass jars work great, as well as leftover yogurt containers, as long as you are not packing anything liquid. Whatever you are packing your food in, try to make sure that you pack it in your backpack vertically, not sideways or upside down; in other words, with the lid on top. This helps to prevent leakage or an outright food disaster.
The tote bag method. Let’s say you bake a cake, and there is no bike basket or pannier or backpack that’s ever going to fit it. For that, there’s the tote bag method. This can be a bit awkward for first-time cyclists, so make sure you are comfortable on your bike first. Wrap your food item in whatever you deem appropriate, then place it in a tote bag and wrap the tote bag strap several times around one of your handlebars, so that the tote bag doesn’t hang too far down and hit the wheel. While you ride, let the tote bag hang from your handlebars, keeping your hand on top of the strap to hold it in place. As you ride and go over bumps, the tote back will swing a little but will provide a little cushion to your precious food item. A much easier ride than bumping along in a bike basket.
Picnics
Is there a greater joy in this world than a bike picnic? No, no there is not. There is literally nothing better than riding on a warm day, stopping and leaning your bicycle against a tree, spreading a blanket out on the ground, pulling out an assortment of food, and eating until you’re stuffed. Well, not stuffed to the point that you can’t ride home, but almost. Here’s what you want to make sure you have in the cyclist’s essential picnic pack.
A BLANKET
A blanket is the one thing that sets a real picnic apart from just eating outside. A blanket will also double as protection when packing your picnic. You can easily roll a blanket and stuff a wine bottle inside the roll. Instant wine transporter.
A KNIFE
Small, compact, and multipurpose is the way to go. And yes, it needs a corkscrew and bottle opener. Because what is a bicycle picnic without a few drinks?
CUTTING BOARD
Be it for cutting slices of bread or serving a couple of different cheeses, a cutting board is by far one of your best investments. The key is getting one that is durable—you want it to hold up to all that Swiss Army slicing—but lightweight enough that it’s not going to weigh you down. Simple wooden boards work well and have that nice rustic picnic look, or opt for a sturdy plastic one.

REUSABLE CUTLERY
Don’t use disposable plastic forks, knives, and spoons from the picnic section of the grocery store. It’s perfectly easy to just bring cutlery from home, or if you want stuff that’s specific to your picnic and other outdoor eating adventures, you can invest in a reusable set, in anything from titanium to bamboo.
REUSABLE CUPS
You could just drink out of your water bottle, but for the pleasure of a real picnic, why not invest in a few durable, reusable cups? You can find all kinds—metal, plastic, even food-grade silicone. What you buy is up to you, but remember to consider weight and durability. You want the kind of thing that you can toss into your bag without thinking about it. No point in buying something that’s going to break after using it twice.
REUSABLE CONTAINERS WITH SECURE LIDS
Some people repurpose glass jars; others have their grandmother’s vintage Tupperware set. Whatever you use to put your food in, first and foremost you want it to do one thing right: keep the food inside. It’s an awful feeling to arrive at a picnic site, dismount from your bicycle, get into the food bag, and realize that the salad vinaigrette has gone all over the place. Be sure to think about weight and size, since you will be packing and transporting your containers. You can get reusable containers in a variety of materials. I prefer stainless steel as it’s long-lasting and very durable. There might also be containers around the house that you can use, like recycled glass jars or yogurt containers (washed, of course).
A TRASH BAG
You didn’t come to the picnic site to dirty it up, now did you? For park picnics, there is usually a garbage can on site, but if you’re picnicking anywhere off the beaten track, make sure that you have something with you to collect any rubbish so that you can recycle or dispose of it when you get home.