Workshop Mastery with Jimmy DiResta: A Guide to Working with Metal, Wood, Plastic, and Leather - Jimmy DiResta, John Baichtal (2016)
Chapter 6. Working with Leather
Along with wood, leather represents one of humanity’s earliest building materials. I’ve done a lot of work with leather, whether making sheaths and cases for my various tools, making an embossed wallet, or even sewing a pair of leather pants, seen in Figure 6-1.
In this chapter I’ll share a selection of some of my favorite leather-working tools as well as a pair of projects: a knife sheath and a backpack.
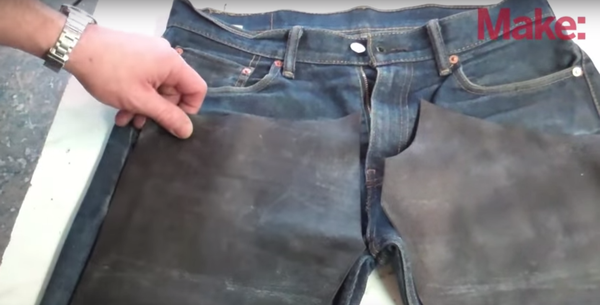
Figure 6-1. I reinforced a pair of jeans with leather
Leather Tools and Materials
Leather has a unique set of tools to cut, shape, and emboss it. These are tools I use the most when working with leather.
Arbor Press
I mostly use my arbor press, also known as a 12-ton press, for impressing leather and book covers. You can see the press at work in Figure 6-2. I bought it on a lark from Harbor Freight, not really knowing what I would do with it, but once I got it I totally started inventing purposes for it. I really couldn’t live without this in the shop, now that I’ve used it for so many small things.
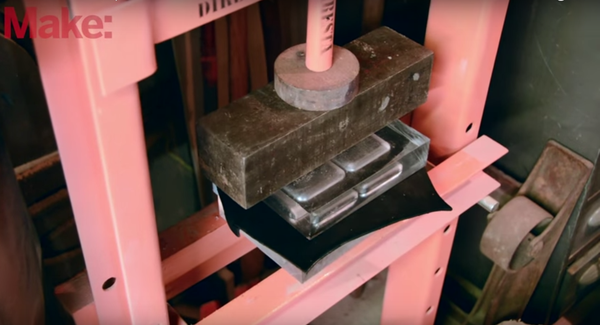
Figure 6-2. Embossing leather with an arbor press
Awl
I often need a sharp piercing thing to use when working with leather. An awl is simply a heavy needle for piercing things. I usually use my own ice pick (pictured in Figure 6-3 and described in Chapter 7) in place of an awl when working in leather and pretty much all of the time. It’s good for lining up stitching holes, making punctures, and scratching guide marks in the leather.
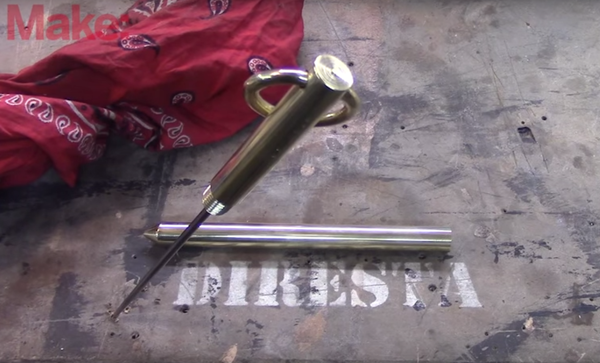
Figure 6-3. I use my ice pick for many different uses—including as an awl
Branding Iron
I like to add my logo to all of my projects, and when it comes to leather, the best way to do it involves a branding iron, seen in Figure 6-4. I’m literally branding my projects as being my creations! I use a branding iron made by a friend, and simply heat it up with a propane torch to get it hot enough to scorch the leather.
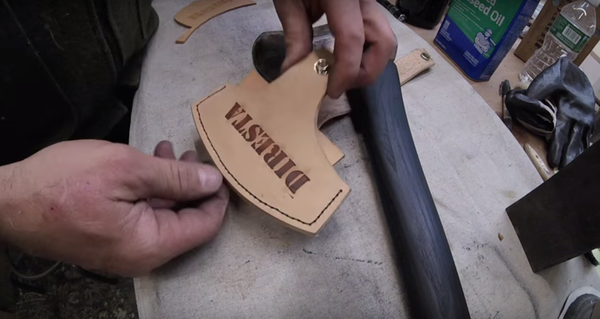
Figure 6-4. Branding a leather axe sheath with my branding iron
Jade Glue
I use jade glue (Figure 6-5) in my leather projects. Intended as a bookbinder’s glue, PVA or jade glue is archival, meaning it doesn’t yellow and crack as it gets old. However, I often use other kinds of glue like CA glue and 3M spray adhesive. A lot of leatherworkers use Barge Cement, a two-coat rubber cement. Mostly I just use glue to hold pieces of leather in place before I even stitch them.

Figure 6-5. PVA, or jade glue, works great for attaching two pieces of leather
Juki Serger
The Juki (seen in Figure 6-6) is an industrial-strength sewing machine able to sew through leather. Juki makes many different models of sewing machines with a million features, but I like the one I have because it’s very simple and very powerful.
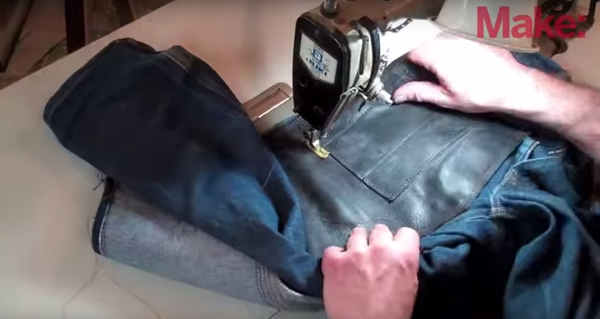
Figure 6-6. Sewing leather into denim with a Juki serger
Mallet
I use a mallet (Figure 6-7) to pound various embossing tools and for other reasons. I made my own mallet, but any typical wooden mallet will work. However, I don’t just limit myself to this one; I also use a brass hammer to tap on stitching forks and the like.
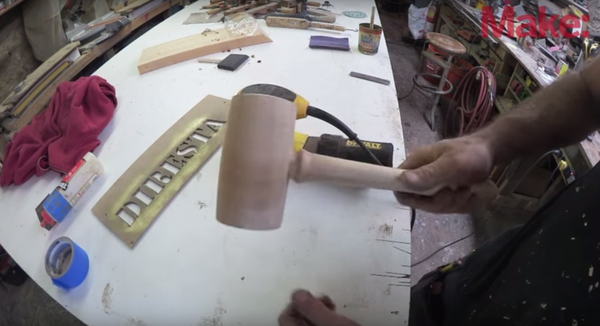
Figure 6-7. You’d be surprised how often a mallet comes in handy
Needles and Thread
As great as the Juki might be, oftentimes I find myself sewing by hand. I keep a supply of leather-gauge needles and waxed nylon thread (Figure 6-8) on hand. The thread I use is so strong I can’t break it by hand; I keep it around in black and white.
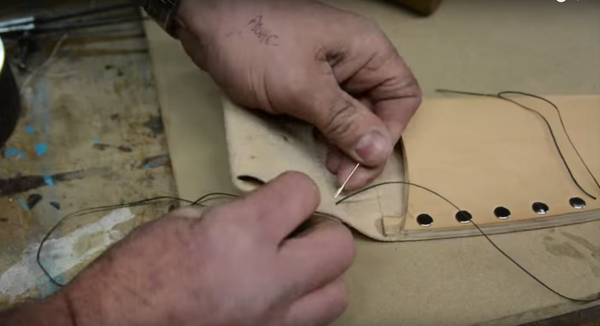
Figure 6-8. Sewing leather with a needle and thread
Punch
To make holes in leather, you can’t just shove an awl through; the material just closes up again. The solution is a punch (Figure 6-9), which actually removes material rather than shoving it aside. Leather punches often have multiple diameters available, allowing you to make the perfect hole.
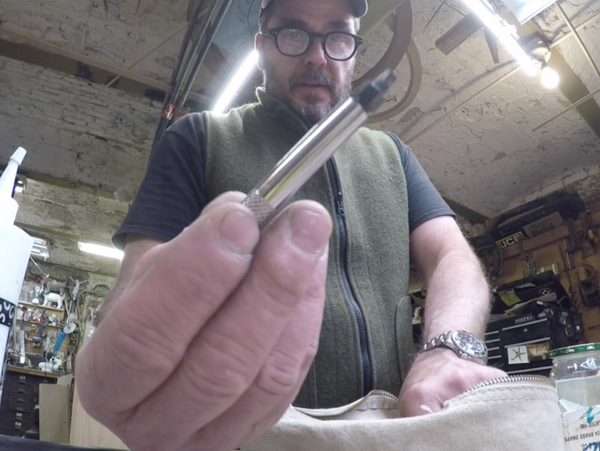
Figure 6-9. Hole punches cut a hole in the leather
Rivet, Snap, and Grommet Stampers
These are small tools for attaching grommets, snaps, studs, and rivets to leather. A stamper looks vaguely like a bullet (Figure 6-10) and is used in conjunction with a hammer to force the front and back of each part together. Typically each set comes with a bottom and top die, as well as a hole punch for making the right-sized hole in the material.
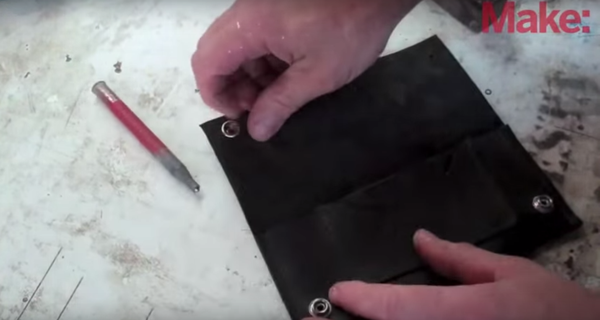
Figure 6-10. The rivet stamper helps you set these small pieces of hardware
Skiver
When I need to make thick leather thinner, I use a skiver to scrape away unwanted material. These tools resemble small knives and come in a variety of configurations depending on the use; the one seen in Figure 6-11 is meant for beveling the edge of the leather.
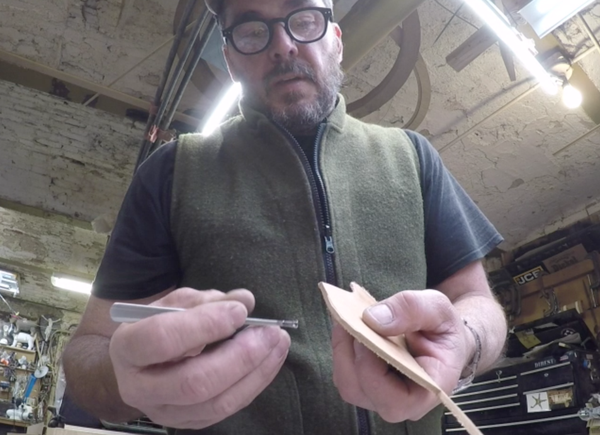
Figure 6-11. I use small knives to skive away unwanted leather
Stitching Fork
This tool helps space out stitching holes so they look neat and orderly. You simply stamp it once, then put one or more of the tines into the holes you already made so that the spacing remains perfect.
I have several different forks, including some for punching holes at angles and some for straight holes. Forks also come in different numbers of teeth, and this gives you the flexibility to make stitches in smaller and larger pieces of leather.
Typically I can punch through two layers of leather with my forks, and if I have more layers to go through, I switch to a drill press. Figure 6-12 shows me using a stitching fork.
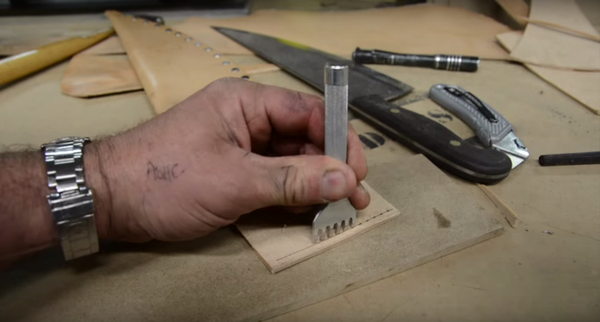
Figure 6-12. Using a stitching fork to space out the holes
X-Acto Knife
I usually use my trusty box cutter to cut leather, but it isn’t a very precise instrument. For finer work I use an X-Acto knife (Figure 6-13) constantly for cutting out, carving, and skiving. One thing I like about these knives is that if it gets dull, you just get a new one. A lot of leatherworking is steeped in traditional tools and methods and people want to buy a special tool and then sharpen it all the time. I can see the advantages, but I like to use disposable blades and simply swap them out when they get dull.
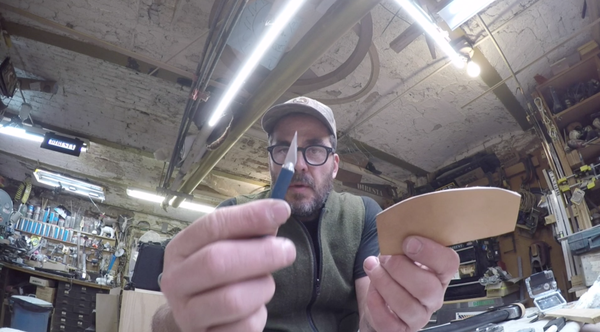
Figure 6-13. I use an X-Acto knife for smaller cuts
Big-Ass Knife Sheath Project
I made a Big-Ass Knife out of a lumber mill saw blade that had been rusting for 50 years on my property in upstate New York. It was really big and really sharp and it really needed a sheath, so I made one. You can see what I came up with in Figure 6-14. Read on to learn how I created it.
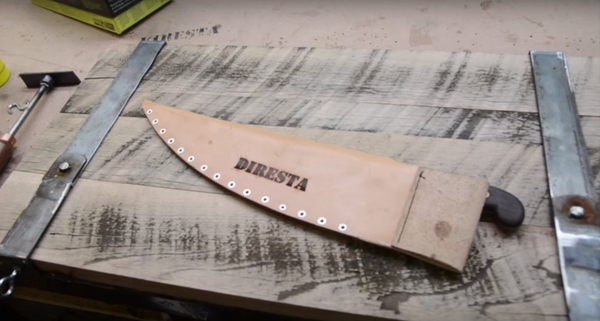
Figure 6-14. This leather shield keeps my Big-Ass Knife safe and secure
Tools and Materials
The sheath was deceptively simple and only used a few tools:
§ 8 oz vegetable-tanned leather
§ Box cutter
§ Drill press
§ Needle and thread
§ PVA glue
§ Rivets, setting tool, and mallet
§ Branding iron and propane torch
Making the Sheath
I followed these steps in creating my sheath:
1. Cut the leather
I found the perfect piece of leather to turn into a sheath. I traced the knife (Figure 6-15) and used a box cutter to cut out a piece of leather that matches the blade. It doesn’t need to be perfect because I’ll just smooth it down later.
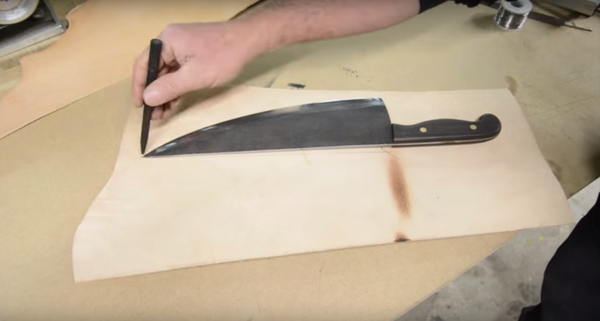
Figure 6-15. Tracing the knife blade
2. Add the welting
I added welting, a reinforcing strip of leather (Figure 6-16) where the blade will touch. This keeps the edge from cutting into the seam. I’m just gluing the welting in place for now; I’ll rivet it later to secure it properly.
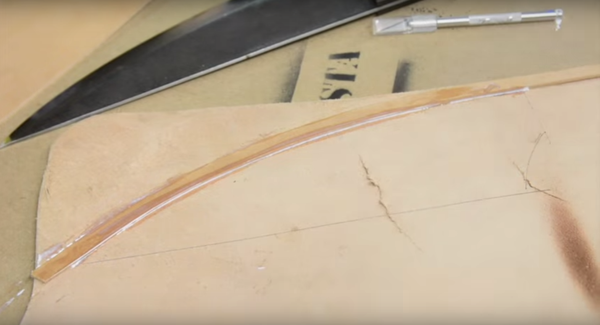
Figure 6-16. Gluing in the welting
3. Fold and shape the sheath
Having traced the leather, I cut it into a close approximation (seen in Figure 6-17) of how the final sheath would look.
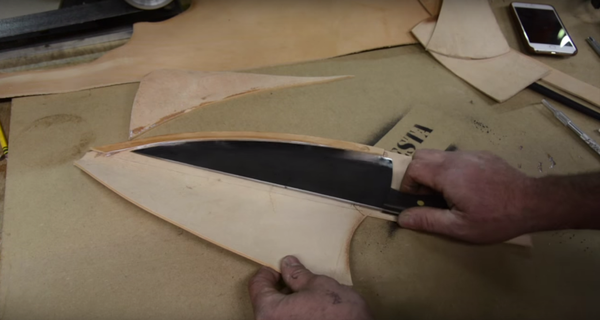
Figure 6-17. Cutting the final sheath shape
4. Glue the flap
I glued the sheath and held it in place (Figure 6-18) until the glue set, not bothering to clamp it. The glue is just there to keep it in place for the rivets, which will do the actual attaching.
Once the glue had cured, I took the sheath to my belt sander and smoothed down the uneven parts.
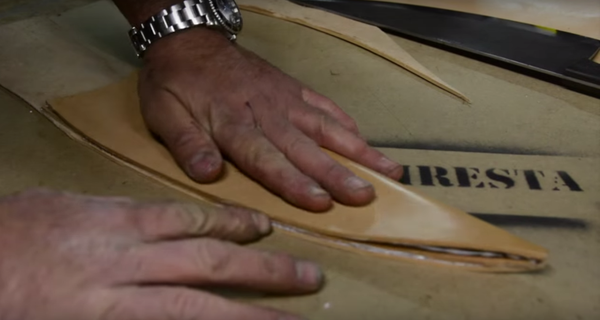
Figure 6-18. Gluing the sheath
5. Drill rivet holes
A lot of time people use punches to make holes in leather, but oftentimes I prefer to use a drill press because it’s faster and easier. On soft, floppy material it would never work, but for multilayer, glued leather like this, a drill works well. I spaced out rivet holes using a compass, then drilled.
6. Add rivets
I added rivets and rivet washers to each hole, then secured them with a rivet setting tool and hammer.
7. Make the belt loop
Next, I wanted to add a belt loop. I left excess material at the top, so I trimmed what was left and folded it over.
8. Stitch the belt loop
Using a stitching fork, I punched thread holes in the leather, then glued the flap into place. With the flap fixed, I used my stitching fork again to ensure the holes went all the way through. After all that was done, I stitched the flap. You can see me sewing in Figure 6-19.
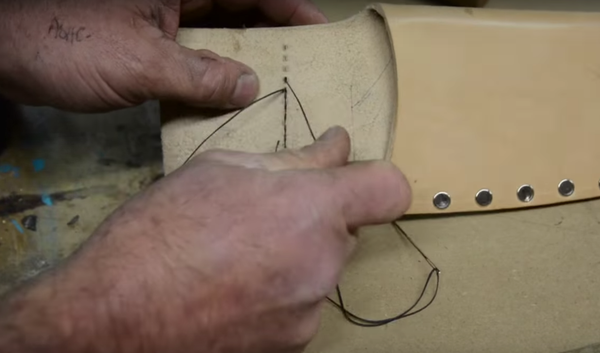
Figure 6-19. Sewing the belt flap
9. Brand the leather
I grabbed a branding iron my friend Tony made for me, heated it up with a propane torch, then branded the leather. You can see how it turned out in Figure 6-20.
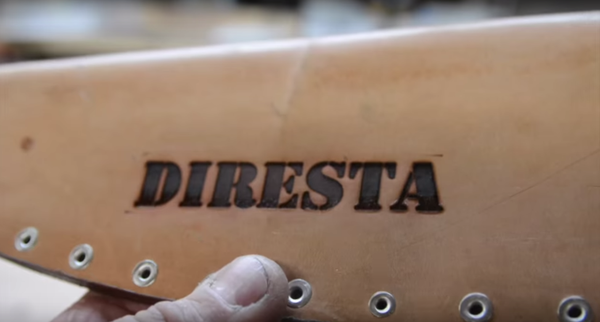
Figure 6-20. Putting the finishing touches on the sheath
Summary
Most of my projects have a very real reason for existing. In the case of this sheath, I just wanted something to protect the knife from damage, while keeping the edge away from my skin. I’m very happy with how the sheath turned out. Next up, I’ll show you how I designed and assembled my own backpack.
Adirondack-Style Leather Backpack
My inspiration for this project is the Adirondack backpack. Often you’ll see them made out of wicker and they’re essentially a dump bin for your back. My backpack (Figure 6-21), rather than wicker, uses vegetable-tanned leather to form the body. It has a brass latch I built myself and can be converted from a backpack to a shoulder bag.
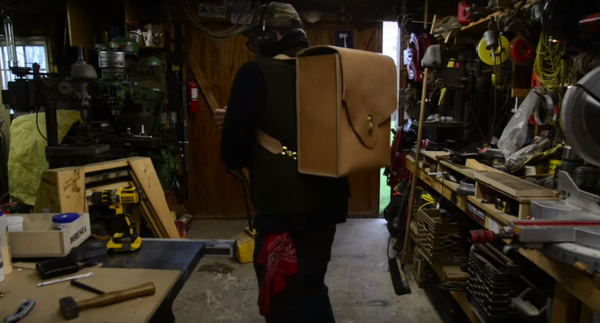
Figure 6-21. Trying on my new backpack
Tools and Materials
I used the following tools and materials in creating my backpack:
§ Wood for wet-forming leather
§ 8 oz vegetable-tanned leather
§ PVA glue
§ Stitching fork
§ Brass hardware
§ Brass lanyards
§ Silver solder and propane torch
Making the Backpack
I’m very pleased with how my backpack turned out. Here’s how I made it:
1. Build the form
I began the project by building wooden forms (Figure 6-22) that will shape the sides of the backpack. The forms consist of a piece of smooth, finished plywood with a frame on three sides. When I push the leather into one of these forms, it will give the material sort of a “lip” on three sides.
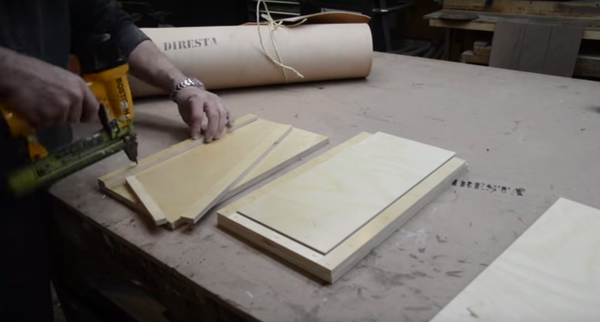
Figure 6-22. Making the forms
2. Rough-cut the side pieces
I measured out the sides and rough-cut (Figure 6-23) the leather. I’ll trim it closer later on. In the meantime, however, I need extra material around the edge for when I put the leather in the form.
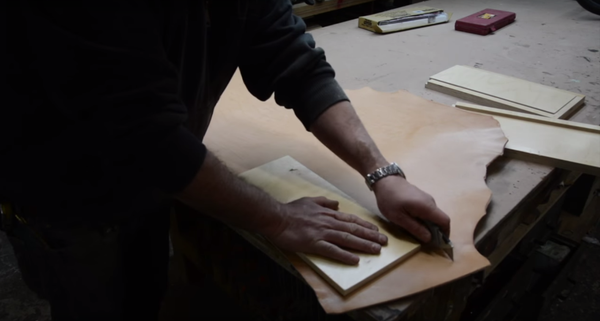
Figure 6-23. Rough-cutting the sides of the backpack
3. Put the leather in the form
I soaked the side pieces in hot water until they were soft and pliable. Then I put both pieces into the forms (Figure 6-24), clamping them securely.
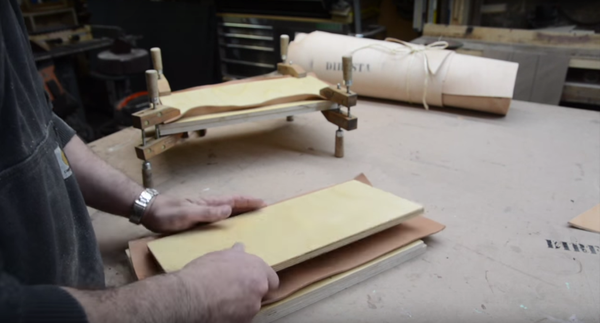
Figure 6-24. Putting the softened leather in a wooden form
4. Cut off the rough edges
Once the leather had set, I trimmed off the rough edges (Figure 6-25) with my box cutter, using the form itself as a guide for my knife. The side portions ended up with only a quarter inch of space for a single row of stitching. Next time I’ll leave half an inch and double-stitch.
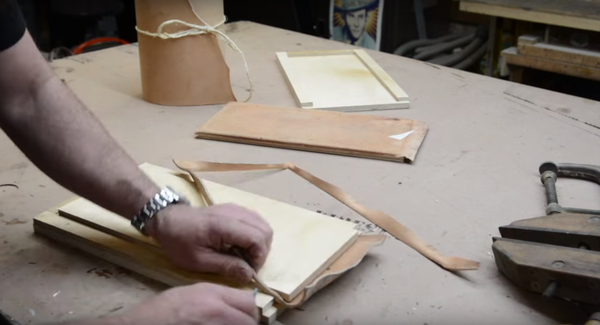
Figure 6-25. Cutting off the excess leather
5. Cut the leather for the body
Next, I cut the leather for the back, bottom, and front, seen in Figure 6-26. I didn’t have enough material to make a flap as well, so I trimmed it off with a couple inches left over so I can add a flap later.
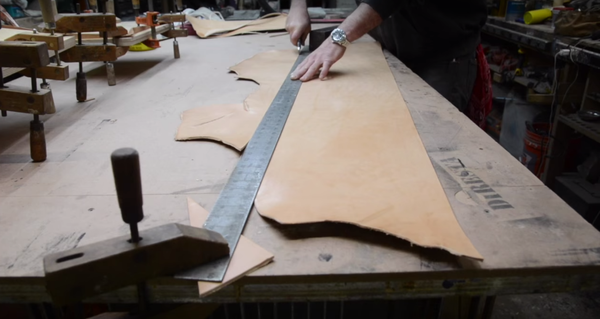
Figure 6-26. Cutting the leather for the back, bottom, and front of the backpack
6. Construct a wooden box
I made a wooden box (Figure 6-27) for the body of the pack, with blue painter’s tape protecting any surface that might come in contact with the glue. The purpose of the box is to keep the backpack’s volume and shape even while I sew.
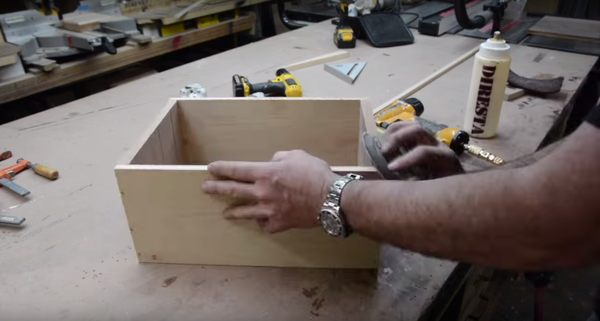
Figure 6-27. Building a wooden box to keep the backpack steady while I sew its seams
7. Glue and clamp the leather
Once the box was complete, I wrapped the big piece of leather around it, gluing the sides on and clamping everything. Figure 6-28 shows one seam getting clamped.
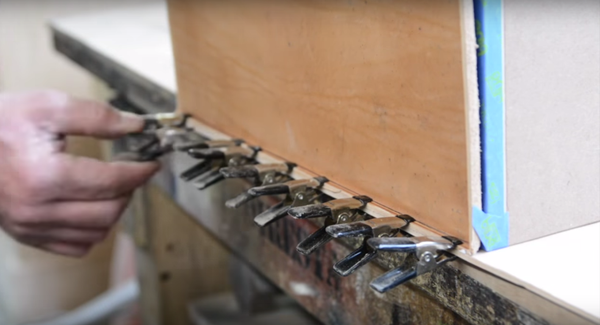
Figure 6-28. Gluing and clamping a seam
8. Make the stitching holes
When the glue was dry, the clamps came off. However, I didn’t remove the box yet. First I wanted to sew up the seams. Before I could do that, however, I’d need stitching holes, so I worked my way around the seams with my stitching fork.
9. Sew the seams
When all the stitching holes had been made, I sewed them using waxed nylon thread and a needle. Figure 6-29 shows me sewing a side panel, literally going in and out of every hole.
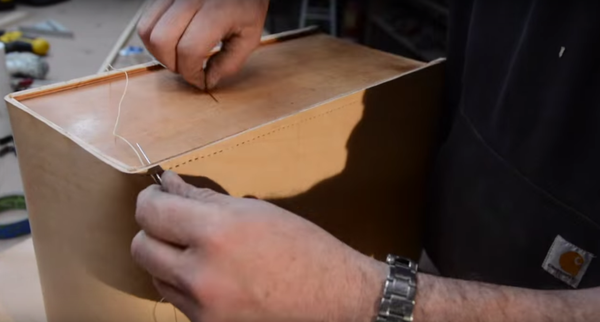
Figure 6-29. Sewing the seams with waxed thread
10. Smooth the edges
With the glue dry and the seams sewed, my work was nearly done. One thing I wanted to do was smooth down the seams, which were a little uneven. I used a hand plane (Figure 6-30) to smooth down the rough edges, and it worked perfectly.
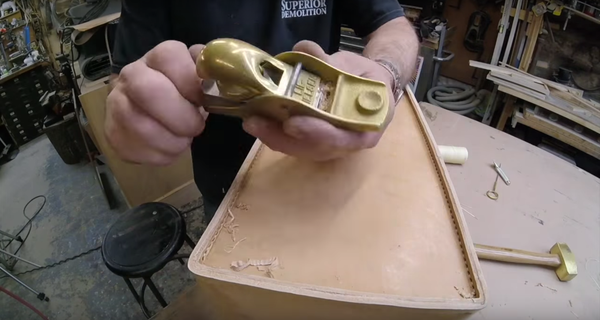
Figure 6-30. Surprisingly, leather planes just as well as wood!
11. Cut the flap
With the box still inside the backpack, I cut a piece of leather for the flap. I wanted some of the natural edging, so I used a piece close to the edge of the hide.
12. Attach the flap
I glued the flap in place, clamped the join, then sewed a double row of stitches to secure it. You can see me sewing in Figure 6-31.
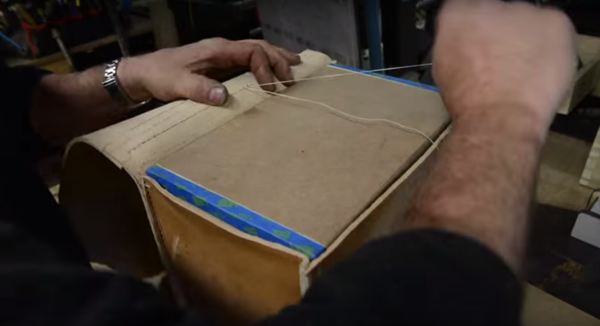
Figure 6-31. Gluing and sewing the flap
13. Reinforce the top
I removed the wooden box and glued in some strips of oak to reinforce the top of the bag so it doesn’t become shapeless.
14. Build the hardware
With the main pack done, I switched things up and worked on the brass hardware. I made my own, cutting plates of brass and soldering on rings, as seen in Figure 6-32. I made a closure mechanism, a reinforcing plate, and a backplate, along with rings for attaching the shoulder straps.
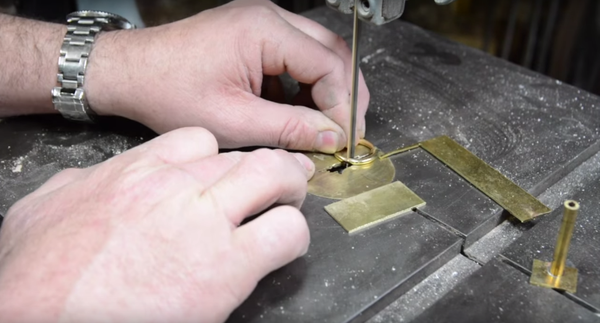
Figure 6-32. Making brass hardware out of stock
15. Attach the hardware
I attached the closure mechanism, riveting the plate onto the leather with the help of a back plate. Figure 6-33 shows the mechanism getting placed.
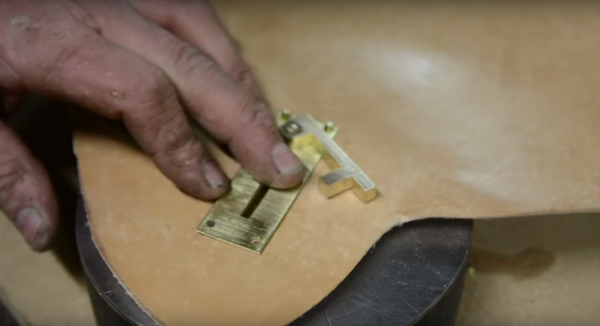
Figure 6-33. Attaching the closure mechanism
16. Make the shoulder straps
I cut shoulder straps, then glued and sewed them into place. Figure 6-34 shows the straps partially done.
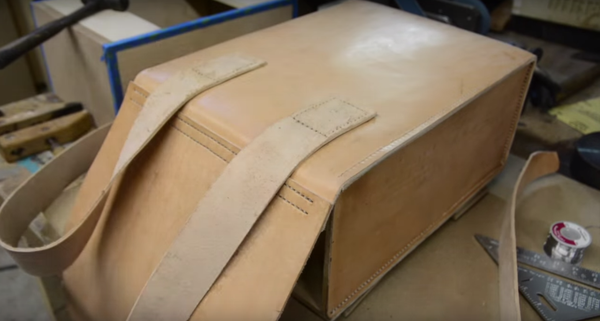
Figure 6-34. Sewing on shoulder straps
17. Add swivel snap hooks
I sewed swivel snap hooks (Figure 6-35) onto the bottoms of the shoulder straps. I got them from a horse supply company, and they’ll work perfectly to keep the straps in check.
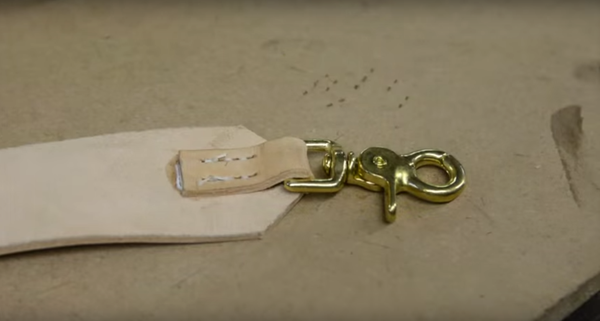
Figure 6-35. Swivel snap hooks attach the bottoms of the shoulder straps to the bag
18. Install grommets
I added a pair of brass grommets and a removable carrying handle for when I didn’t want the pack on my back. I’m done!
Summary
The backpack is done! It will definitely get used and my only worry is that the single stitching on the sides won’t prove enough—I’m kicking myself for not leaving more leather sticking out of my forms. However, this was the very first leather bag I made, and I learned a lot during the process, so I’m not worried.
Chapter 7 finishes off the book with a discussion of my favorite topic: tools! I love to build my own tools and to modify existing ones to work better for me, and I’ll share some of my favorites.