Everyday Cook - Alton Brown (2016)
ANYTIME
Peach Punch Pops
MAKES 16 POPS
I love Popsicles and I love cocktails. I love peaches. I love bourbon and I love iced tea. So this is pretty much a no-brainer. Just make sure you don’t mix these up with the ones you give the kids. Of course, if one of the little boogers does swipe one, the cayenne will teach them a lesson!
8 peaches, pitted and cubed
2 cups iced tea*
¼ cup sugar
8 ounces bourbon P
Pinch of kosher salt
Tiny pinch of cayenne pepper
SPECIAL EQUIPMENT
Popsicle molds, Popsicle sticks
1. Blend the peaches, tea, sugar, bourbon, salt and cayenne in a blender until smooth. Transfer to the fridge and chill for about 4 hours.
2. Pour the peach mixture into Popsicle molds, add a stick and freeze for 4 hours, or until solid. Store in a zip-top bag in the freezer for up to 2 weeks.
* In the South, we would refer to this as “sweetea,” that is, black tea that has been liberally sweetened while it was still hot.

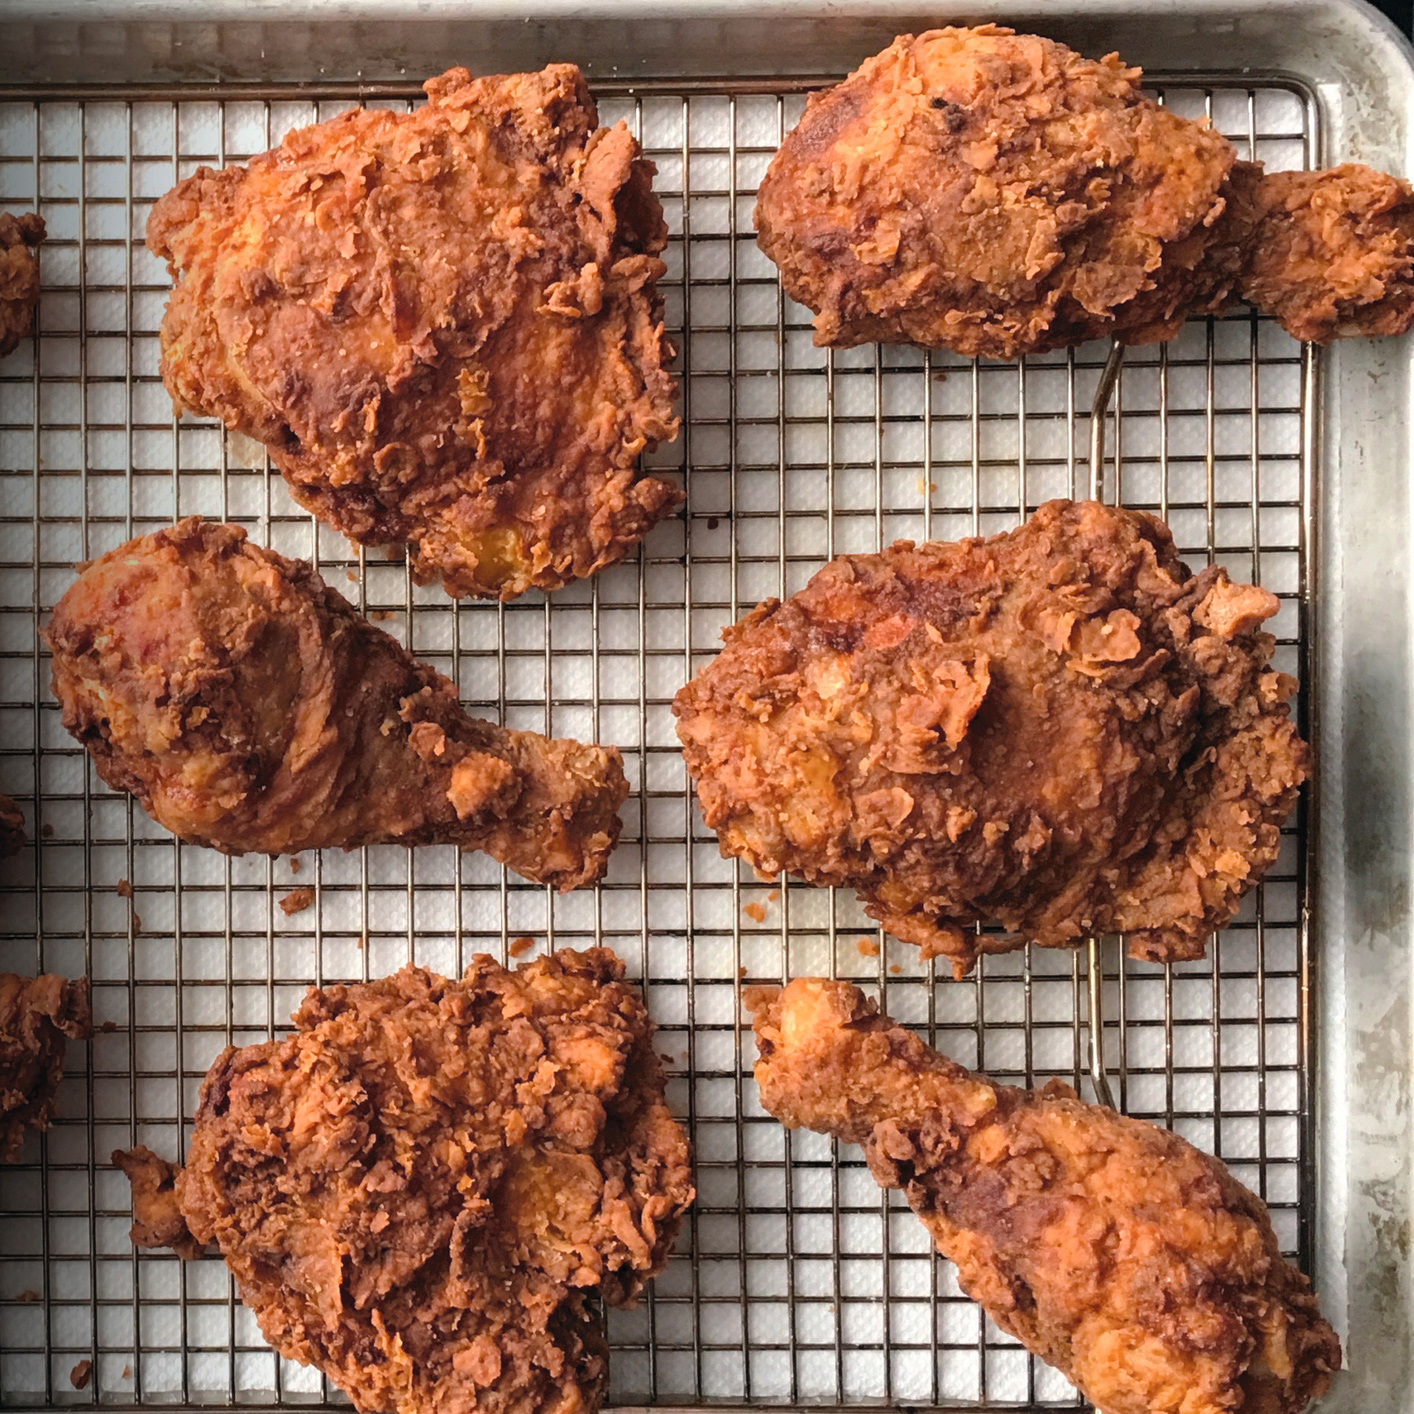
The General’s Fried Chicken
FEEDS 4
Why “General’s”? Because a general is better than a colonel, that’s why. (Drops spoon, walks out of kitchen.)
8 pieces chicken (about 4 pounds—preferably 4 legs and 4 thighs)*
3 tablespoons kosher salt
2 teaspoons freshly ground black pepper
2 teaspoons ground sumac P
1 teaspoon cayenne pepper
1 teaspoon garlic powder
2 cups all-purpose flour
2 tablespoons cornstarch
1 cup buttermilk
1 large egg
2 tablespoons bourbon B
2 quarts peanut oil
1. Place the chicken pieces on a cooling rack set over a half sheet pan and sprinkle with the salt. Set aside at room temp for 30 minutes.
2. Meanwhile, combine the black pepper, sumac, cayenne and garlic powder in a small bowl, then divide the blend into two equal portions (total mixture = 8 teaspoons). Sprinkle half of the said mixture on the chicken and refrigerate, uncovered, for at least 4 hours or overnight.
3. Remove the chicken from the refrigerator 30 minutes before cooking. Whisk together the flour, cornstarch and the remaining spice mixture in a large bowl. In another bowl, whisk together the buttermilk, egg and bourbon.
4. Dunk the chicken pieces, one at a time, into the buttermilk mixture, then dredge in the flour mixture (don’t worry about letting any excess buttermilk drain off the chicken first). After shaking in the dredge container to coat, use your fingers to massage the flour coating onto the chicken.**
5. Remove the coated chicken to the cooling rack set inside a half sheet pan and set aside for at least 10 minutes or up to an hour. When time’s almost up, heat the peanut oil to 350°F in a large Dutch oven over medium-high heat, about 15 minutes. (See Fry Station Setup, M.)
6. Fry the chicken in three batches, rotating the pieces every 3 to 4 minutes and adjusting the heat as needed to maintain 325°F. If you manage the heat just right, the exterior of the chicken will be golden brown right as the interior temperature hits 155°F, 12 to 15 minutes per batch. Set the chicken onto a paper towel-lined pan to cool for at least 5 minutes before serving.
* I’m not a fan of fried breast meat, but if you must, make sure that the rib cage is still in place and that the entire wing has been removed.
** My director of culinary ops, Meghan, uses tszuj (pronounced “jujj”) to describe this process. It’s not in any dictionary that I can find, but according to the Interwebs, it’s got to do with kind of squeezing hair or fabric in the hand, so I’ll allow it.
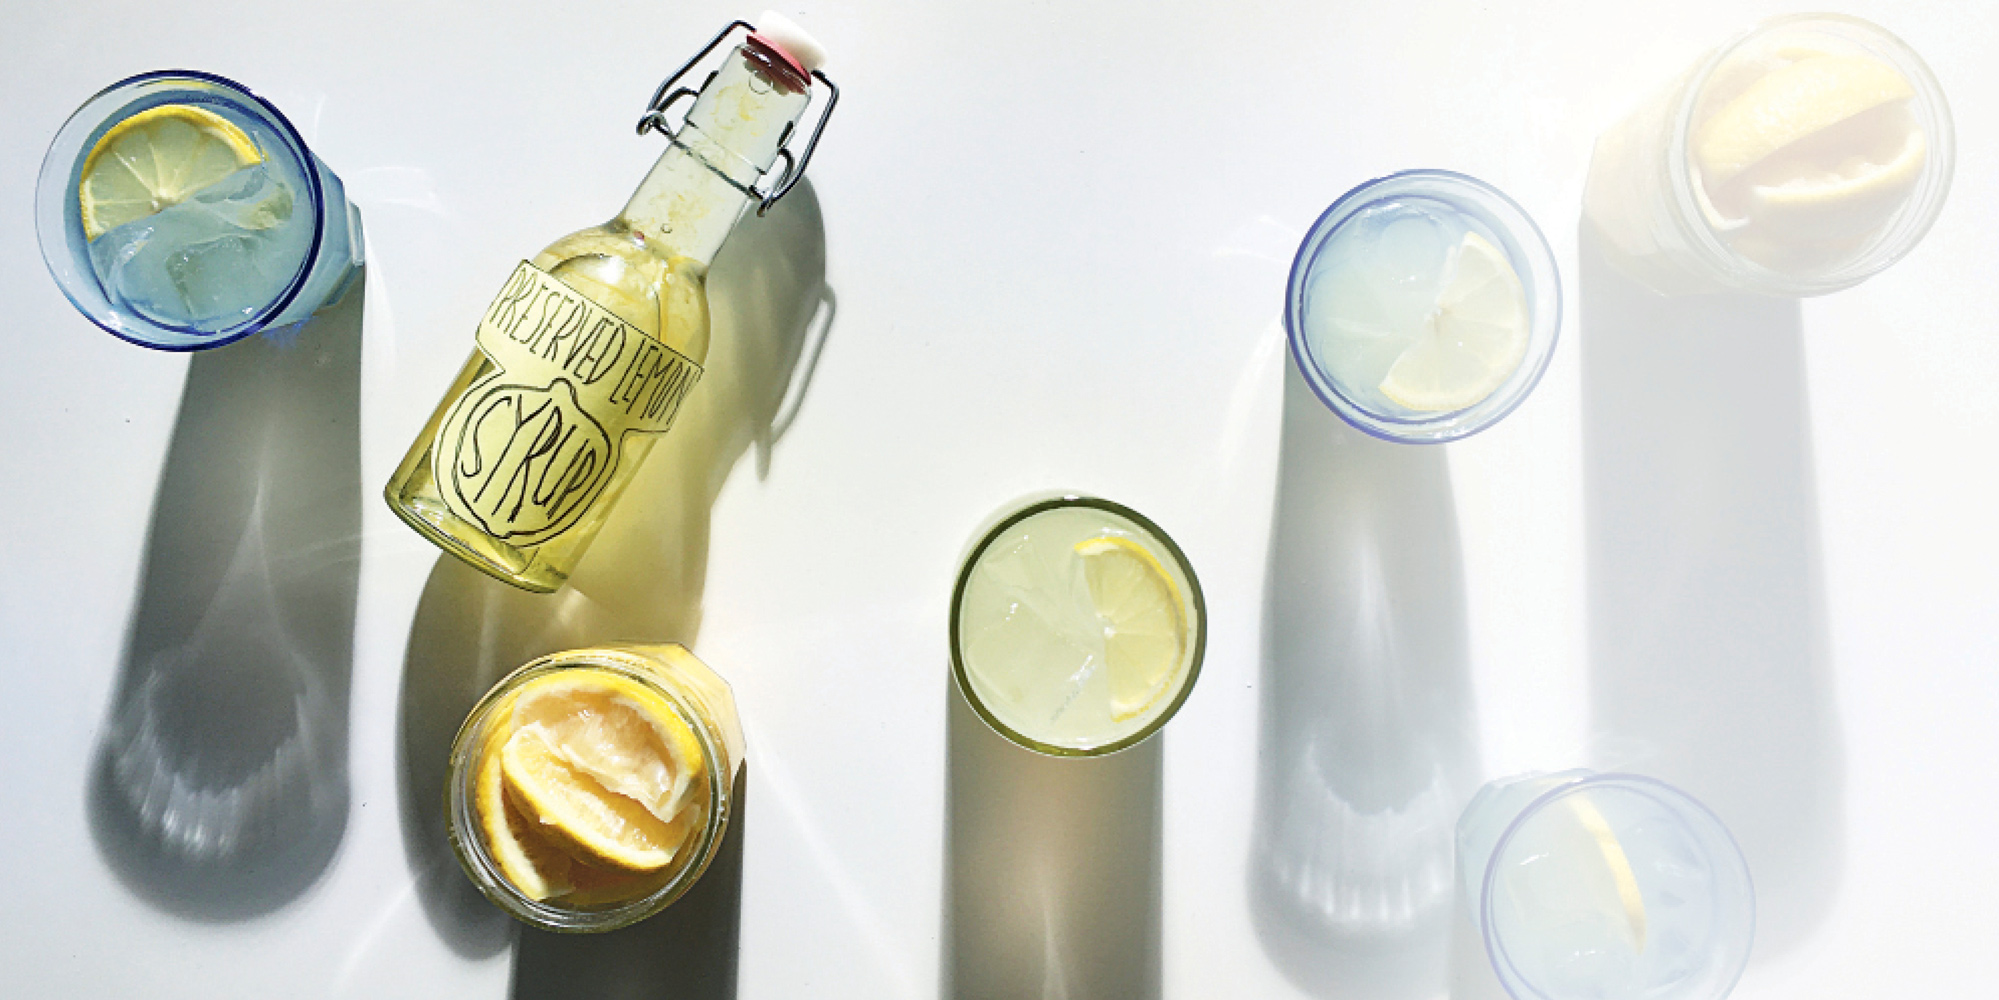
Preserved Lemons-ade
MAKES 2 CUPS
I’ve always loved lemonade, but generally it’s just sweet and tart; there’s not a lot going on beneath the surface. By using preserved lemons, all that changes. There’s real depth of flavor here, and the bit of salt that comes across balances the sweetness and mingles with the fizz. And yes, you could pour some vodka in there…free country.
1 cup Quick Preserved Lemons
½ cup sugar
½ cup water
½ cup fresh lemon juice
Soda water, for serving
1. Combine the preserved lemons, sugar and water in a small saucepan. Bring to a simmer over medium heat and cook until the sugar dissolves, about 1 minute. Cool the lemon syrup off the heat for 1 hour. Add the lemon juice and stir to combine.
2. To serve, pour 2 ounces of the lemon syrup over ice and top with 4 ounces soda water.
Quick Preserved Lemons
Makes 1 pint
I’m a huge lemonhead, and to my mouth’s mind nothing delivers the essence of lemon quite like preserved lemons. They’re a staple in Middle Eastern and Moroccan cuisine, but honestly, anytime a savory recipe calls for lemon, I reach for these. Just make sure you rinse them off before you use them.
4 medium lemons, scrubbed and dried
¼ cup coarse sea salt
Juice of 1 lemon
1. Remove the top and tail from each lemon.
2. Slice each lemon into 8 wedges, removing any seeds as you go. Reserve as much of the juice as possible.
3. Layer the sliced lemons in a clean widemouthed jar—sprinkling with the salt at each layer. Don’t be shy with the salt—you’ll rinse it off later. Pack the jar as tightly as possible.
4. Top the jar with any remaining lemon juice, leaving about ¼ inch of head space in the jar.
5. Stash in the refrigerator for 4 days, then flip the bottle over and age another 4 days before sampling. The peel should be nice and soft. This can be used immediately or kept in the fridge for up to 3 months.
6. Rinse the lemons before eating. Preserved lemons are a welcome addition to creamy pasta dishes, grain salads, braises, grilled fish…heck, even vanilla ice cream. Be aware that many recipes call for the pulp to be discarded because most of the flavor is in the peel itself.
Pâté de Sardine
MAKES 1 CUP, ABOUT 4 SERVINGS
I adore canned sardines. In fact, I’d say I am a connoisseur of the form, with favorite brands from the United States, France, Portugal and Spain. I enjoy them right out of the can most of the time, but this pâté is my absolute favorite way to consume them.
If you happen to drop by my place for hors d’oeuvres, odds are I’ll serve this stuff with thin baguette toasts for dipping. If it’s fancy, we’ll spread instead.
2 cans oil-packed sardines P (about 4 ounces each)
2 ounces (½ stick) unsalted butter, at room temperature
1 large shallot, chopped
2 tablespoons fresh lemon juice
3 tablespoons finely chopped fresh herbs, such as chives, parsley or dill
1. Dump the sardines and their oil in the bowl of a food processor, along with the butter, shallot and lemon juice, and process until smooth. Add 2 tablespoons of the herbs and pulse 2 or 3 times.
2. Pack the pâté into a small ramekin (or back into the sardine cans). Smooth with a spatula, then top with the remaining 1 tablespoon herbs. Wrap tightly in plastic wrap and refrigerate for at least 1 hour to firm the texture.*
* Tightly wrapped, the pâté will keep for about 5 days. It doesn’t freeze well though, so…don’t do that.
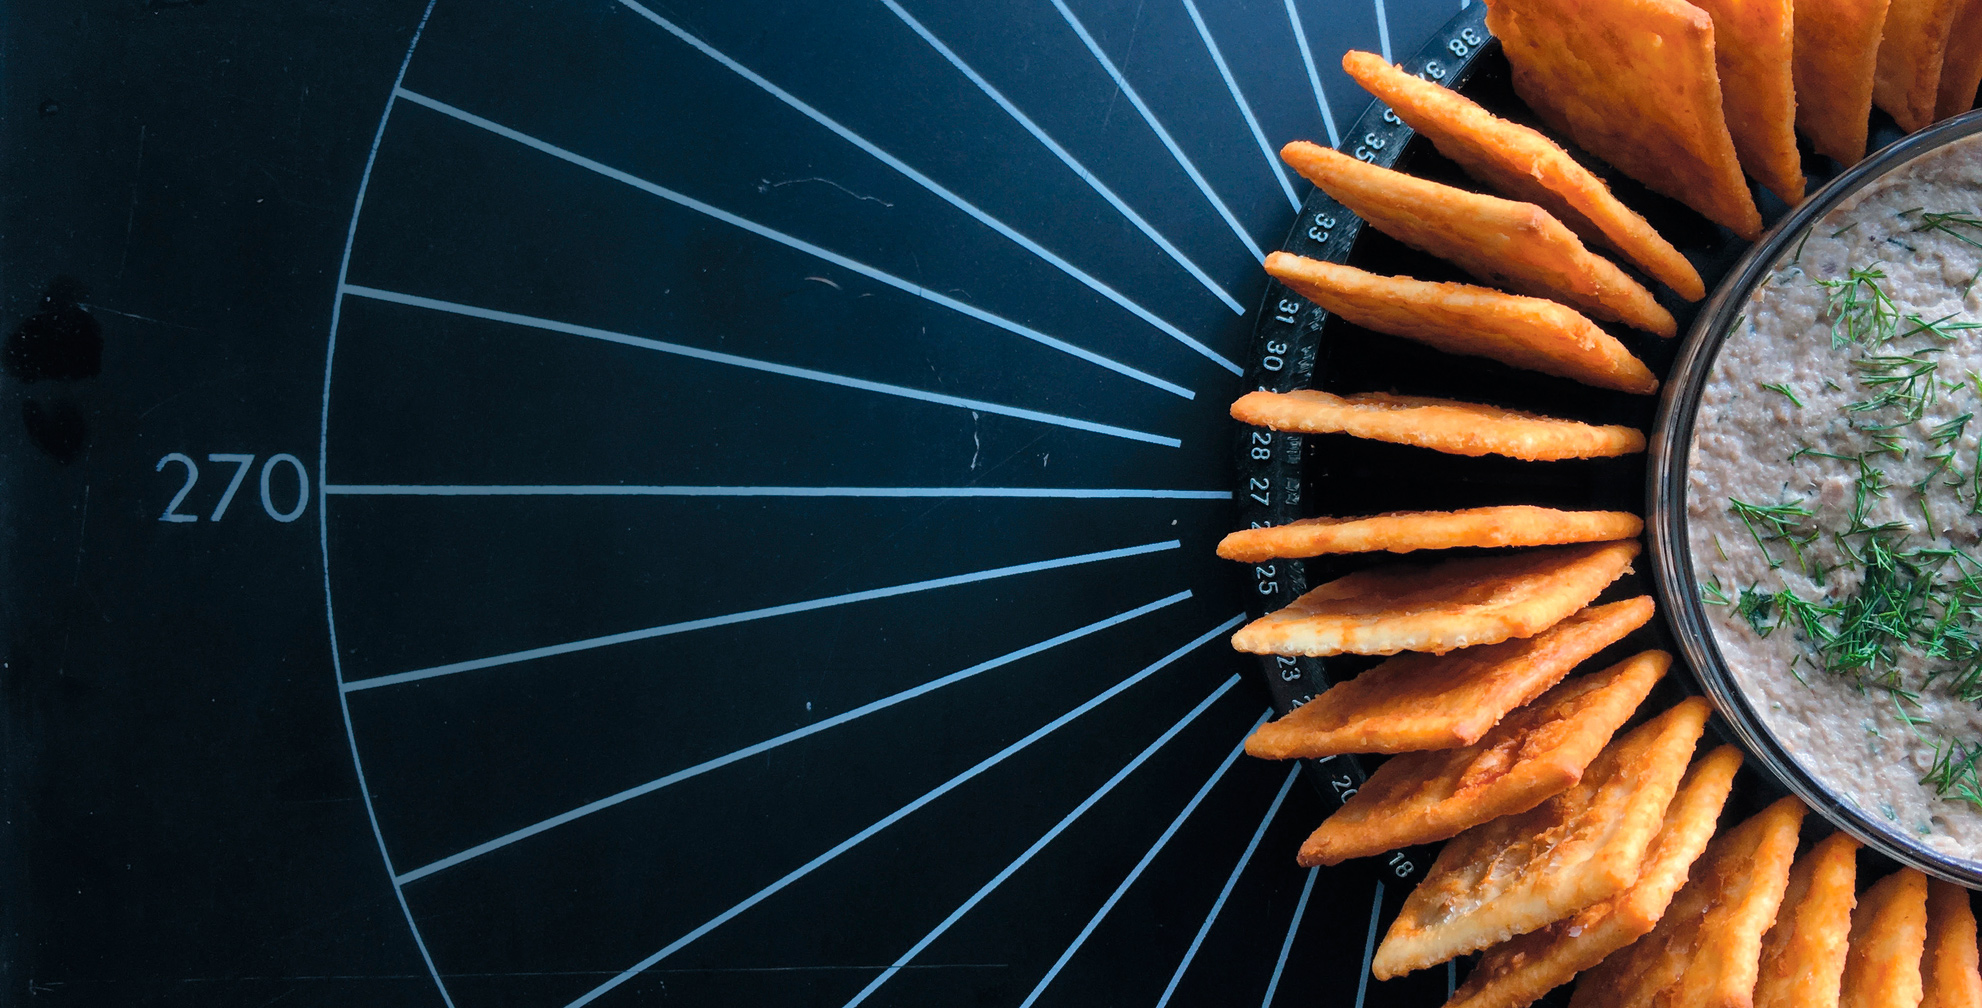
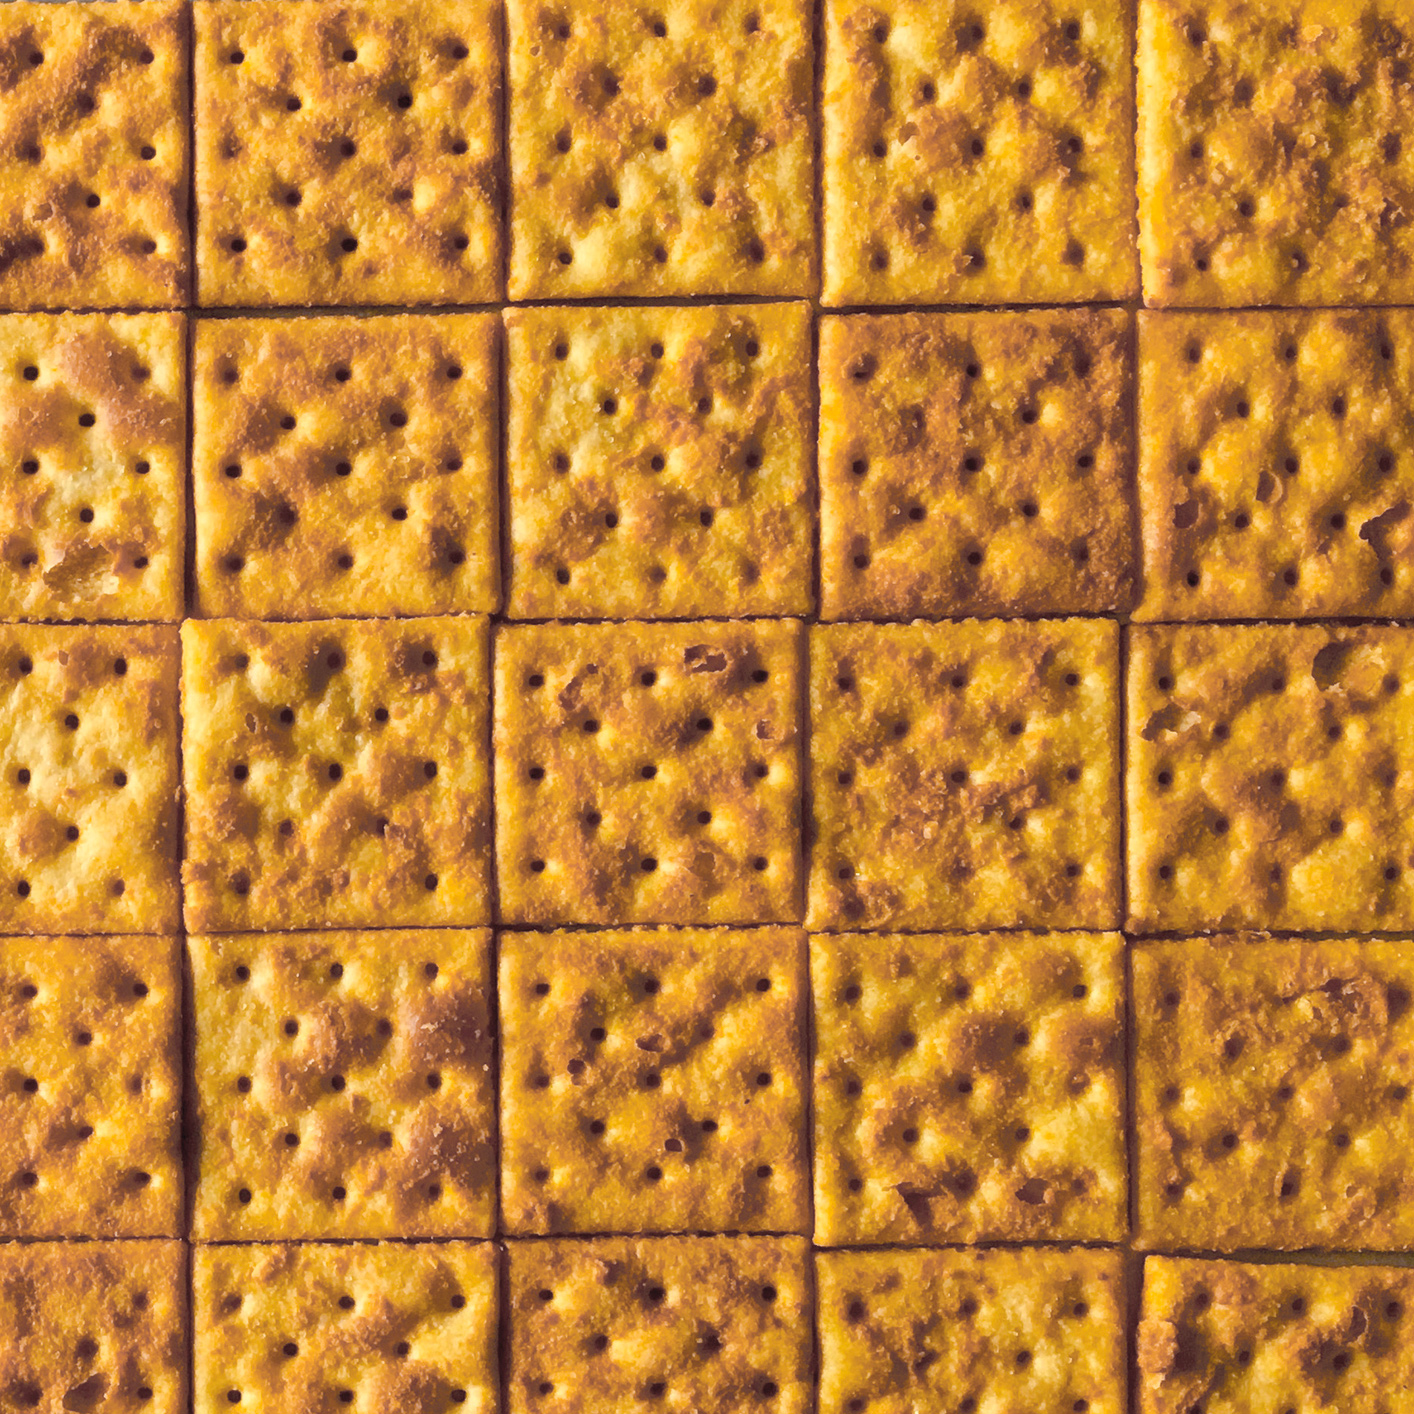
Hot Saltine Hack
MAKES 40 CRACKERS
Some might argue the hacking of an iconic cracker to be culinary blasphemy.
Whatever.
2 tablespoons Clarified Butter M, melted
1 tablespoon hot sauce
1 teaspoon dry mustard powder
1 sleeve saltines (about 40 crackers)
1. Heat the oven to 350°F.
2. Meanwhile, whisk the butter, hot sauce and dry mustard together in a large mixing bowl. Add the saltines and toss to coat.
3. Spread the crackers on a half sheet pan.
4. Bake for 8 to 10 minutes, until the saltines just start to brown.
5. Try warm with the sardine pâté.
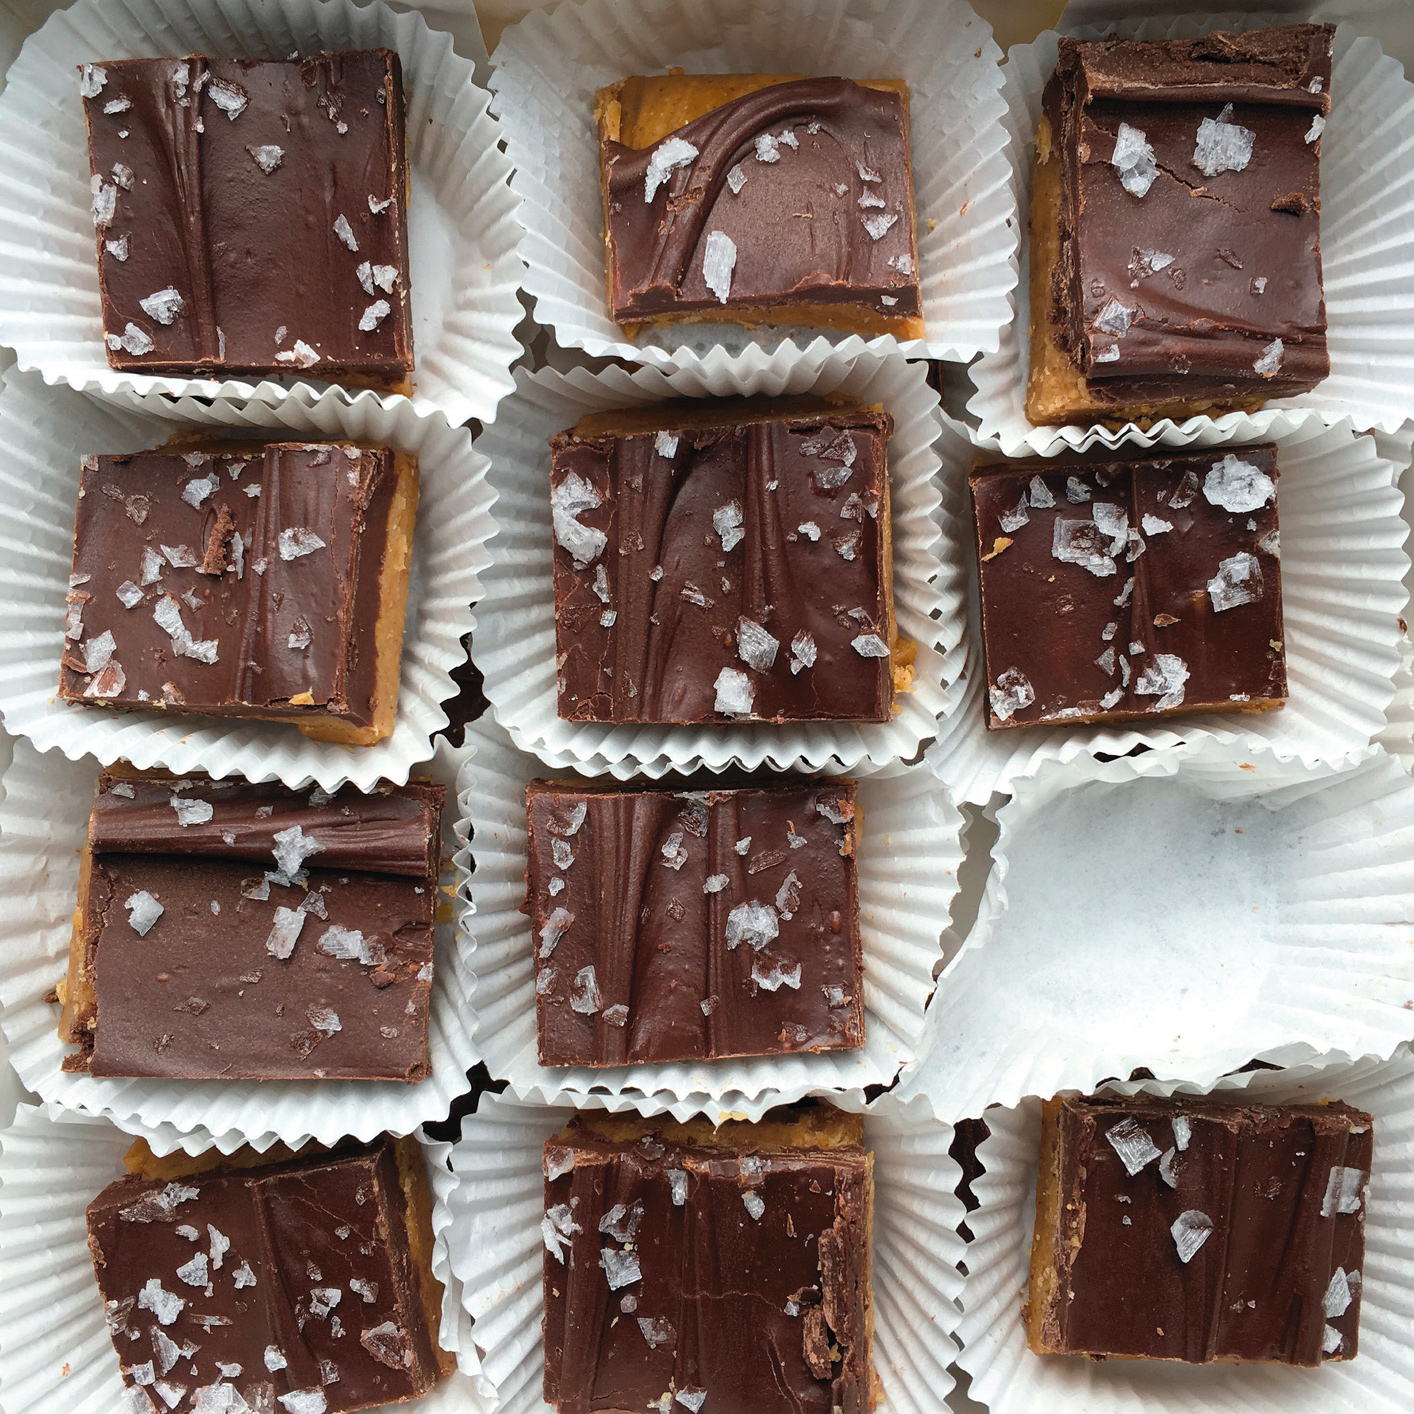
Salty Chocolaty Peanut Buttery Crunchy Bars
MAKES 120 1-INCH PIECES
Whether you’re making ice cream, fudge, caramel or brittle, candy making is all about controlling the temperature and therefore the concentration and crystallization of a sugar syrup. When cooking, the hotter the syrup, the more concentrated it is and, typically, the harder the candy will be—295ºF is a kind of magical thermal waypoint. Any lower and the candy will be really chewy, any higher and it’ll crack your teeth like brittle. But 295ºF…magic.
16 ounces sugar
12 ounces orange blossom honey
18 ounces creamy peanut butter
12 ounces semisweet chocolate chips
1 teaspoon vegetable shortening
½ teaspoon Maldon salt P
1. Line a half sheet pan with a silicone baking mat or a piece of parchment paper coated with nonstick cooking spray. Combine the sugar, honey and ½ cup water in a 4-quart saucepan, and bring to a boil over medium heat. Cover and boil for 5 minutes.
2. Put the peanut butter in a large heatproof bowl and have standing by on a clean kitchen towel or no-skid pad.
3. Remove the lid of the saucepan and clip a candy thermometer H to the side. When the mixture reaches 295˚F, remove from the heat and quickly pour the sugar mixture over the peanut butter and use a wooden spoon to combine.* Don’t try for a homogenous mixture. There should still be some streaks of peanut butter throughout.
4. Immediately pour the mixture onto the prepared pan and spread into an even layer. The mixture will begin to harden right away. Use a pizza wheel to cut the candy into 1-inch squares while still warm. Cool completely, about 45 minutes.
5. Add enough water to a large saucepan to come up the sides 1 inch, then bring to a simmer over medium heat. Combine the chocolate and shortening in a medium heatproof bowl and melt over the simmering water, stirring occasionally until completely smooth. Pour over the cooled peanut butter candy and spread into an even layer. Cool for 3 to 4 minutes and then sprinkle with the salt.
6. After the chocolate has set completely, cut the candy again with the pizza wheel, following the lines created by the first cuts. Store in an airtight container for up to 1 week. Or just eat it all right then and there. No one would blame you one bit.
Note: I usually give this stuff away as bribes…It’s that powerful.
* Why wood? Because metal conducts heat and could result in localized crystallization, throwing off the texture of the finished candies. Although the fat from the peanut butter will likely mitigate this, there’s no reason not to play it safe.
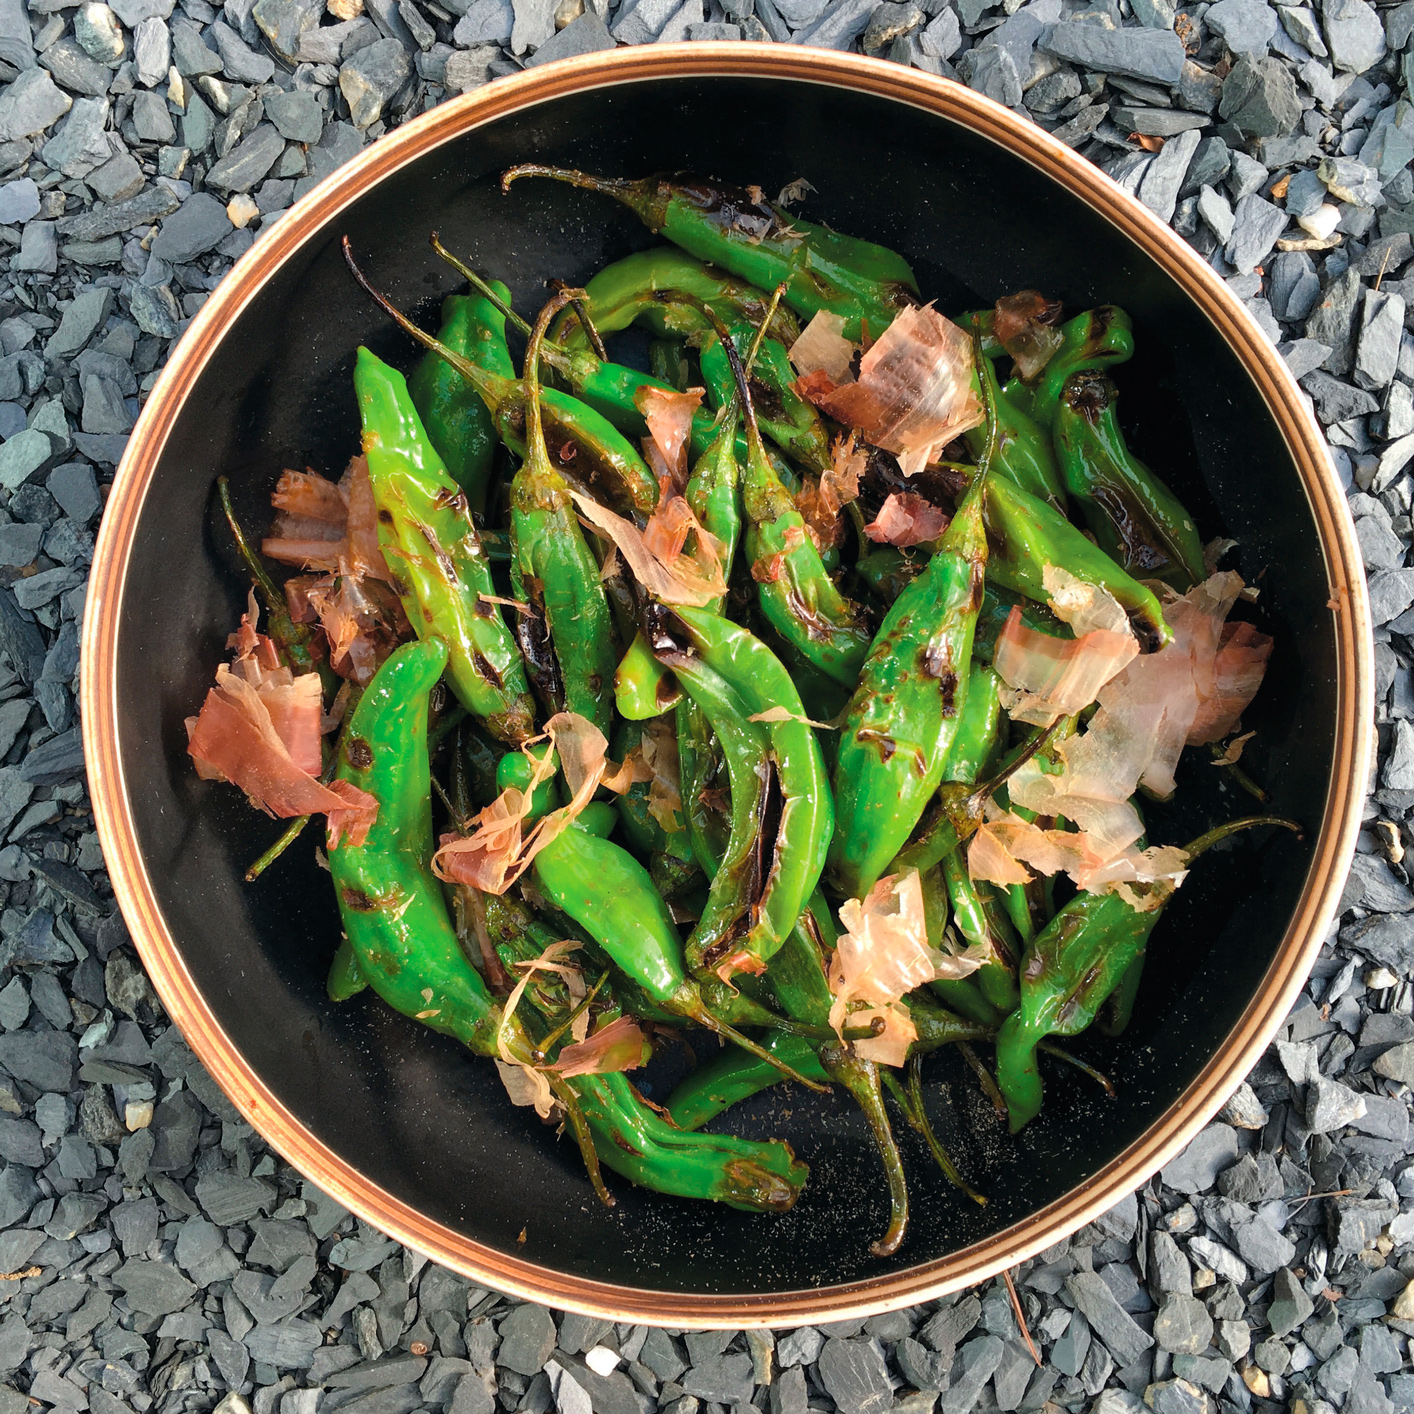
Grilled Shishitos
FEEDS 2
Suddenly, shishitos are everywhere, and I for one couldn’t be happier. These mild chiles are crinkly, green, thin-skinned and sweet and probably migrated from Portugal in the sixteenth century to Japan, where they have long been served in izakaya, which is a fancy way of saying they’re bar food. Shishito have caught on in the United States, where they are typically panfried or grilled and served with a mound of shaved bonito or katsuobushi on top. Although I usually bag mine at a nearby Japanese market, more and more upscale markets are keeping them on hand.
½ pound shishito chiles, rinsed and dried
1 teaspoon olive oil
½ teaspoon kosher salt
2 teaspoons soy sauce
1 ounce katsuobushi flakes P (a handful)
1. Heat a grill to high.*
2. Toss the shishitos with the olive oil and salt in a large mixing bowl. Arrange the chiles in an even layer on the grill and cook, uncovered, for 3 minutes. Flip and grill for another 2 to 3 minutes, until the skins are slightly blistered.
3. Move the shishitos back to the mixing bowl and toss with the soy sauce. Then quickly place on a platter and top with the katsuobushi flakes.
4. To consume, simply grab one by the stem and eat the entire pod, seeds and all.
Note: According to chile legend, nine out of every ten shishitos are mild…that one, though, it’s a stinker.
* Charcoal M is absolutely the best fuel for this.
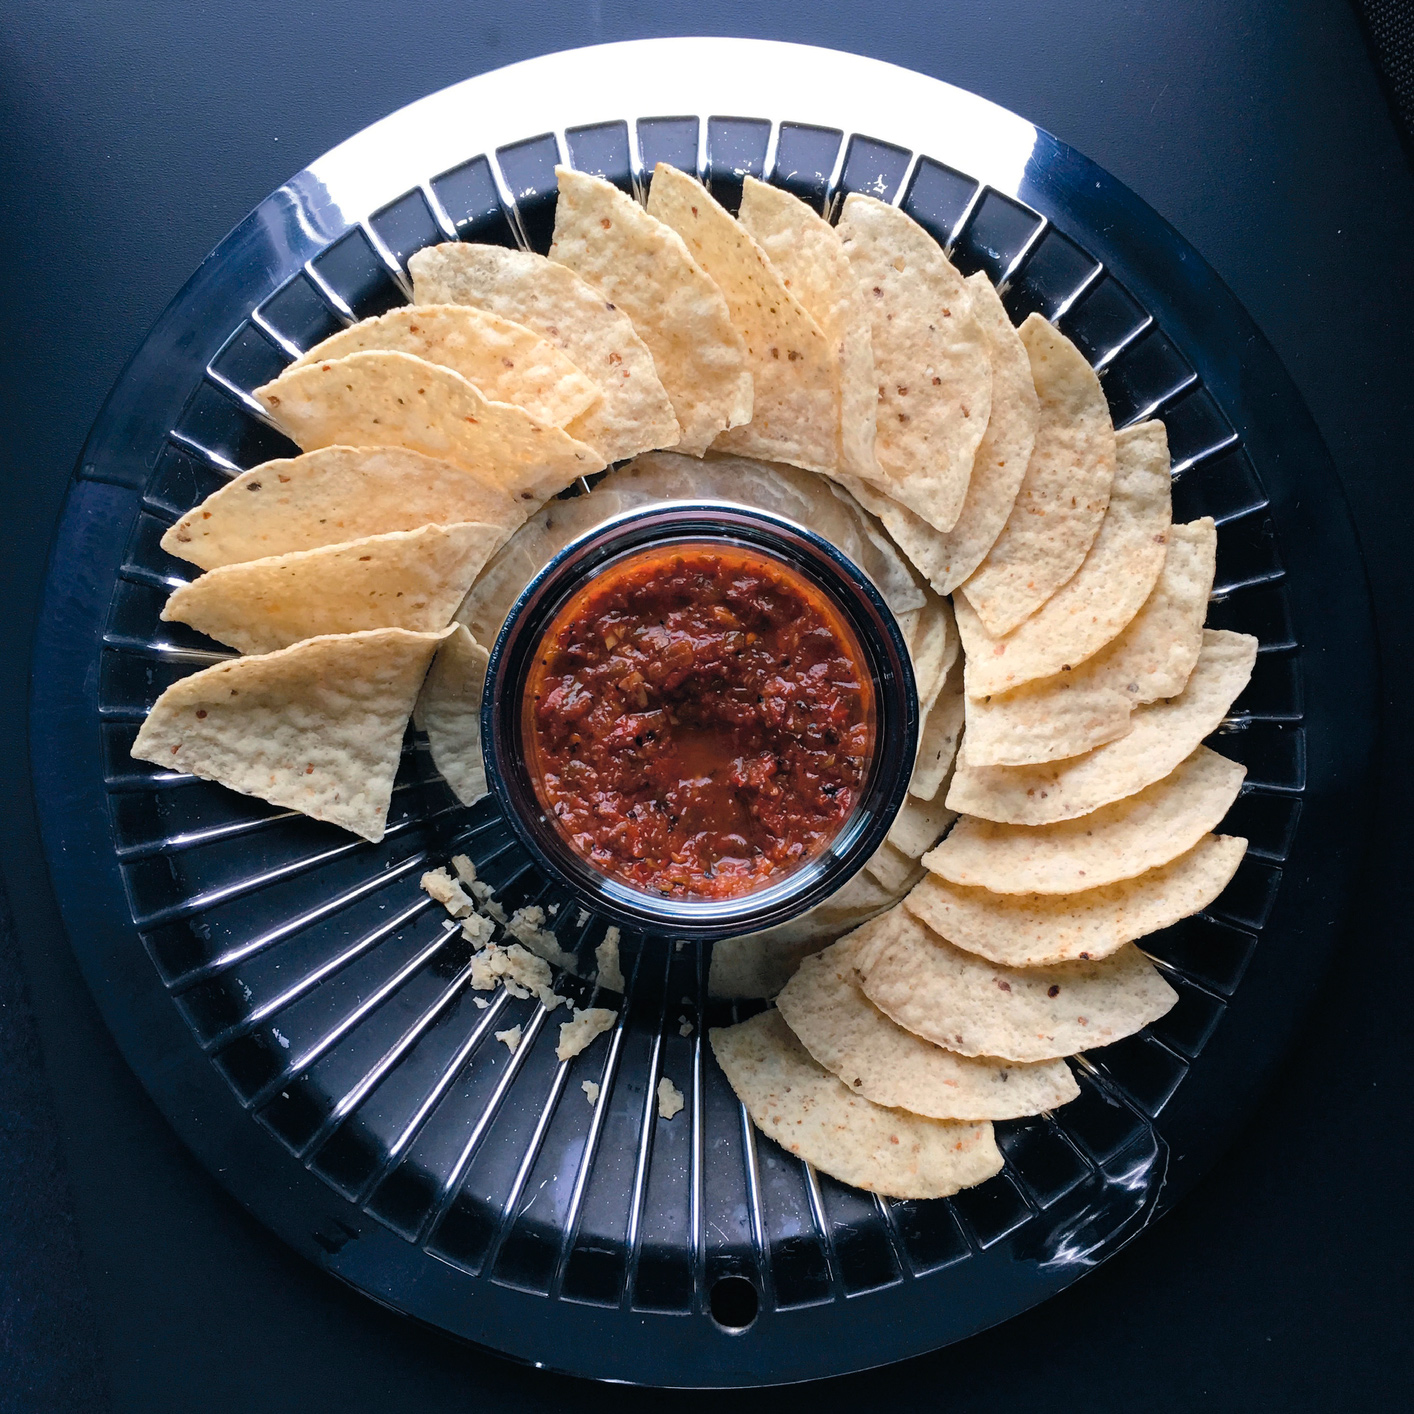
Roasted Chile Salsa
MAKES ABOUT 1 QUART
This is the only salsa I keep on hand year-round. I use it in scrambled eggs, on pizza, and, of course, Chilaquiles! I know, five jalapeños sounds like a lot, but don’t worry, roasting them under the broiler knocks down the heat considerably.
Oh, and I dip chips into this as well. Forgot about that. Sorry.
6 Roma tomatoes, halved horizontally
5 jalapeño peppers, halved and seeded
4 large garlic cloves
2 dried ancho chiles P, seeded and soaked in hot water for 10 minutes*
1 red bell pepper, seeded and quartered
½ red onion, roughly chopped
1 tablespoon olive oil
Juice of 1 lime
1 teaspoon kosher salt
1 teaspoon chili powder
Chopped fresh cilantro, parsley, or scallions, but not all three
1. Place an oven rack in the top position and heat the broiler.
2. Squeeze the tomato halves, reserving the juice and seeds. Set aside 2 tomatoes and 1 jalapeño. Toss the remaining 4 tomatoes and 4 jalapeños with the garlic, chiles, bell pepper, onion and olive oil. Spread the mixture on a half sheet pan.
3. Broil for 20 minutes, stirring every 5 minutes to promote even browning.
4. Transfer the broiled vegetables to a food processor and add the reserved tomatoes, jalapeño, lime juice, salt and chili powder. Pulse several times until the mixture reaches salsa consistency. If the mixture seems too dry, add part or all of the reserved tomato liquid.
5. Leave at room temp or refrigerate for a few hours for the flavors to blend. Top with the herbage of your choice and serve on your favorite hubcap. Or, a bowl if you must.
* To seed, snip the stem end off with scissors and shake out the seeds.
The Last Pizza Dough I’ll Ever Need
MAKES 3 10-INCH PIZZAS
If you happened to catch my live culinary variety show, The Edible Inevitable Tour, you know that every night, in more than one hundred cities in the United States, a volunteer and I spun and baked pizzas in my Mighty MegaBake Oven. That meant I needed to come up with a dough that was elastic and plastic, tasty, durable, and easy to make in the tour bus environment. After considerable experimentation I’m pleased to announce that this is indeed the last pizza dough I’ll ever need. It might just be the last one you need as well.
690 grams bread flour, plus extra for shaping
9 grams active dry yeast
15 grams sugar
20 grams kosher salt
455 grams bottled water
15 grams olive oil, plus extra for the bowl and crust
SPECIAL EQUIPMENT
Digital scale H
Wooden pizza peel (not metal)
Pizza stone
1. Place each ingredient into the bowl of a stand mixer in the order listed. Install the dough hook attachment and mix on low until the dough comes together, forming a ball and pulling away from the sides of the bowl. Increase the mixer speed to medium and knead for 5 minutes.
2. Lightly flour the countertop, then round the dough into a smooth ball by folding the edges of the round in toward the center several times and rolling it between your hands on the counter. Lightly oil a bowl and place the dough in the bowl. Cover with plastic wrap and refrigerate for 18 to 24 hours.
3. “Punch down” the dough by turning it out onto a clean countertop and shaping it into a rough rectangle, using your knuckles to work out as many of the large gas bubbles as possible. Then tightly roll the dough into a log 12 to 15 inches long. Cut this into thirds. Shape each third into a disk, then shape the disks into smooth balls. You may want to moisten the counter with water to up the surface tension a bit so that the ball tightens up instead of sliding across the counter.
4. Cover each ball with a clean kitchen towel and set aside for 30 minutes at room temperature. At this point, you can also transfer the dough to airtight plastic containers and refrigerate for up to 8 hours. Just make sure you bring the balls to room temperature 30 minutes before use.
PIZZA TIME
1. Set a pizza stone on the lower rack of the oven (or the floor, if using a gas oven) and crank the heat as high as it will go, hopefully 550°F. Give the oven and the stone a good 30 minutes to heat up.
2. To build the pizza, sprinkle a tablespoon or so of flour on a pizza peel or wooden countertop and place the dough right in the middle. Shape into a disk with the heel of your hand, gently pounding with a circular motion.
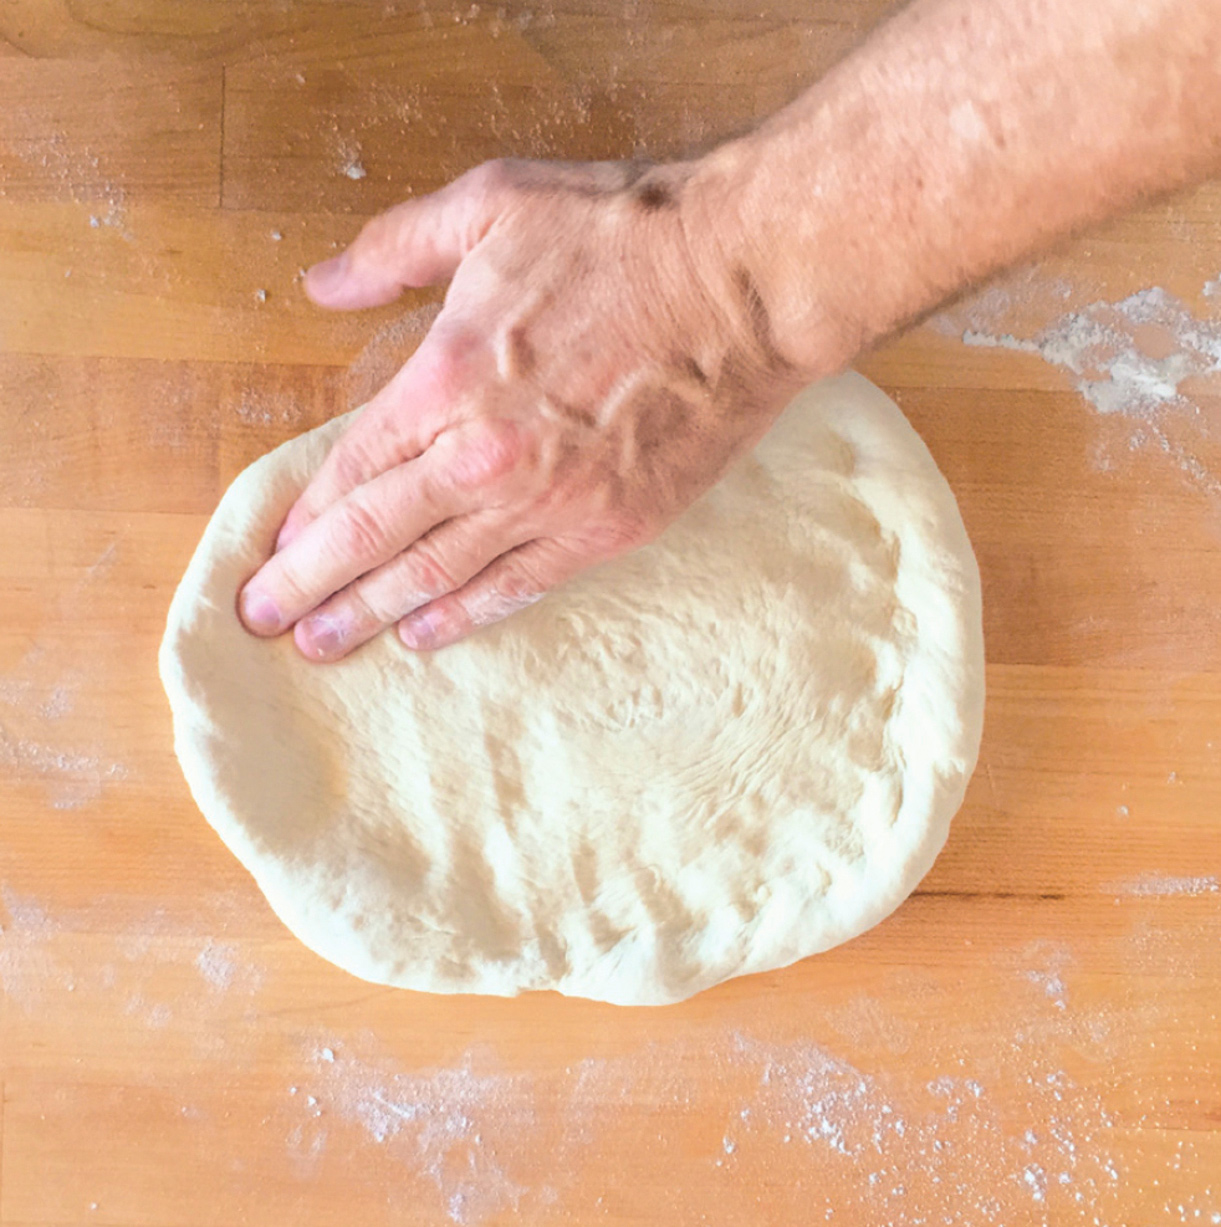
3. Use your fingers to form the outer lip, a critical feature that cannot be created with a rolling pin. (In fact, rolling rather than stretching will just ruin the whole gosh-darned thing.)
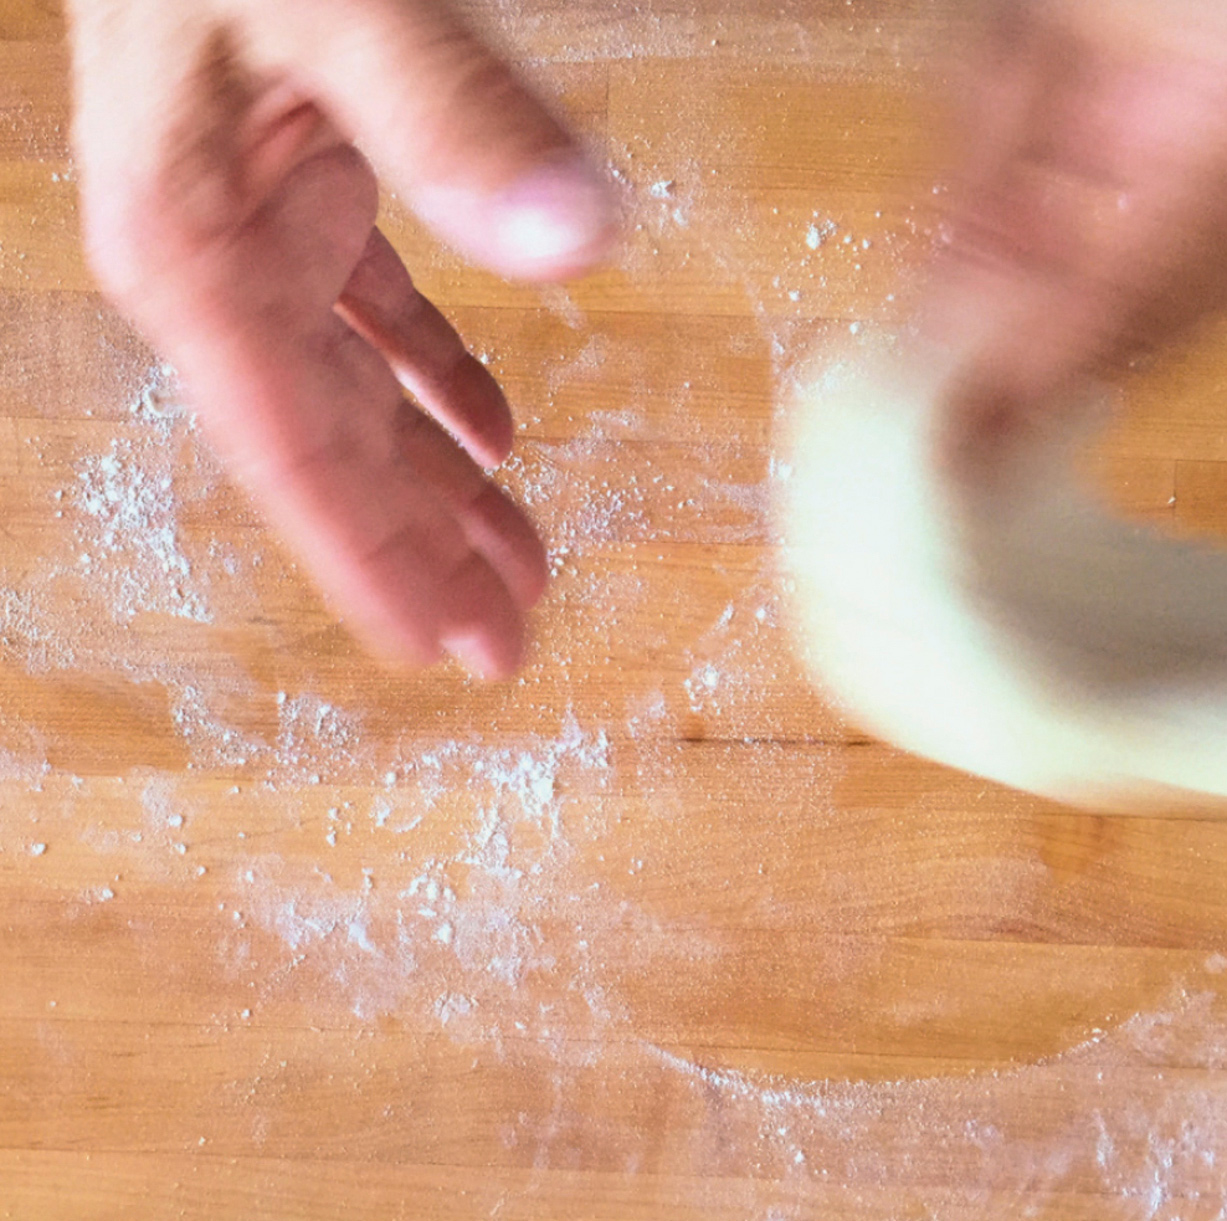
4. At this point you need to start stretching the dough. The most efficient way is to pass the dough back and forth between your hands, rotating it as you go so that the mass of the dough and gravity work to slowly stretch the gluten.
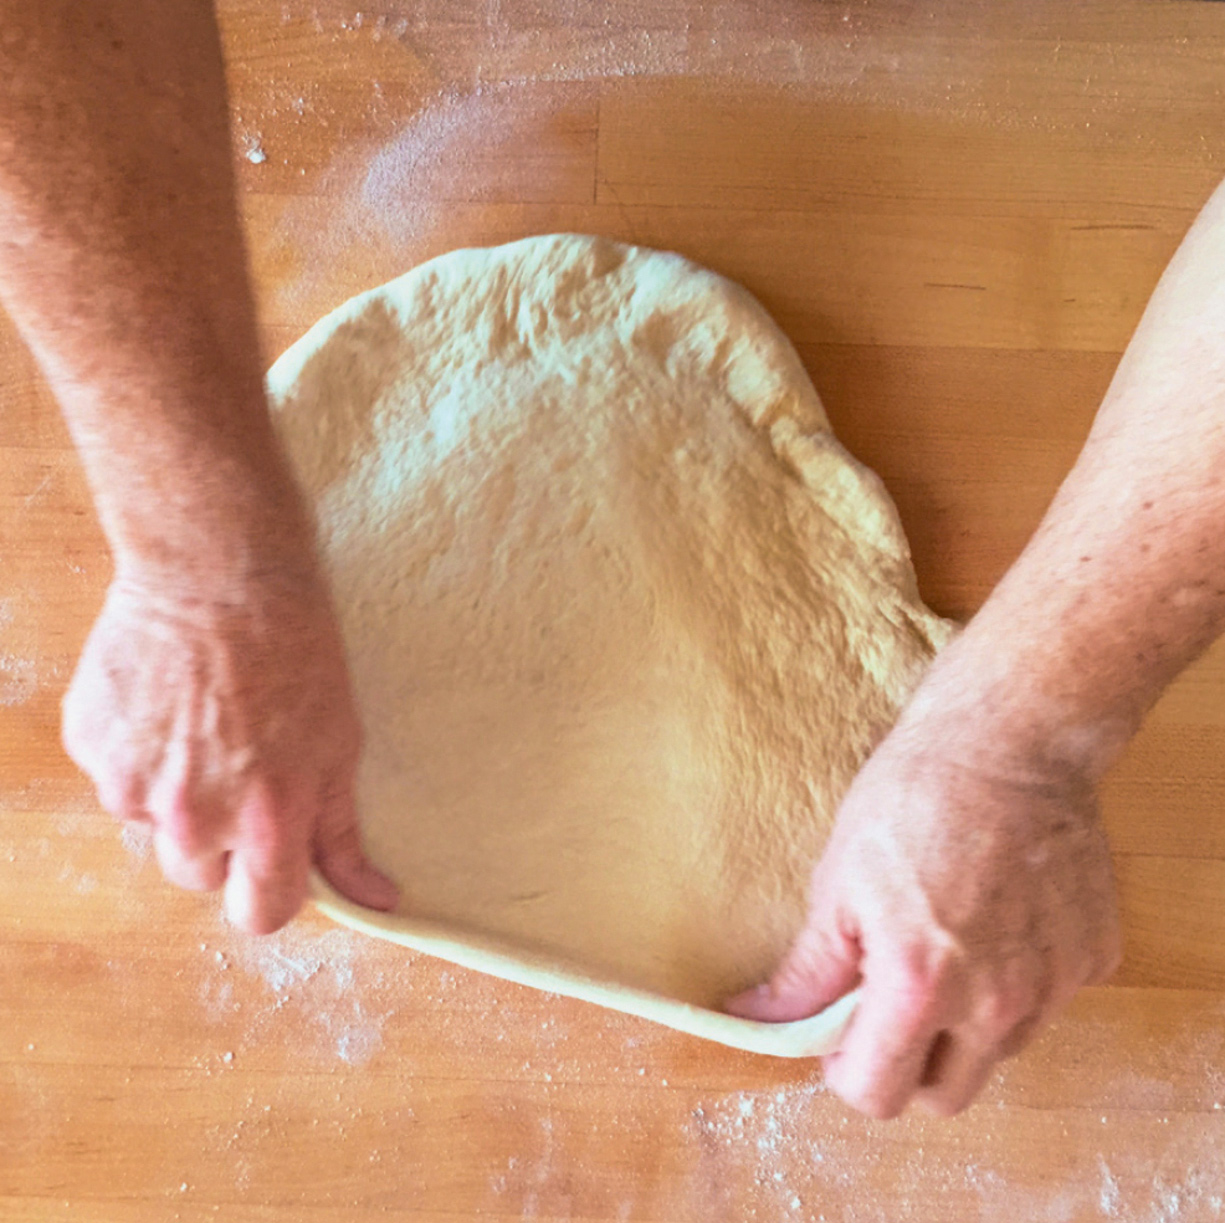
5. You can also stretch the dough on the board by turning and pulling it, and turning and pulling. If you’re working on a peel (which I recommend), jiggle it from time to time to ensure the dough isn’t sticking. If it is, shake it loose then lift the edge and add a bit more flour. Keep working the dough until it’s almost as wide as your peel (or pan if you need to go that way).
6. Brush the entire dough lightly with olive oil. Ladle an ounce or two of sauce into the middle of the dough then using the back of the ladle, spread it out almost to the edge. Top with fresh herbs (oregano and basil) and a good melting cheese. I usually go with a mixture of mozzarella, Monterery Jack and provolone, but that’s me.
7. Slide the pizza onto the hot pizza stone. To do this, position the front edge of the peel about one inch from the back of the stone. Lift the handle and jiggle gently until the pizza slides forward. As soon as the dough touches the stone, start pulling the peel back toward you while still jiggling. While a couple of inches of dough are on the stone, quickly snap the peel straight back. As long as the dough isn’t stuck on the peel, it will park itself nicely on the stone.
8. Keep an eye on the dough for the first 3 to 4 minutes. If any big bubbles start ballooning up, reach in with a fork and pop them. Bake for 7 to 10 minutes total or until the top is bubbly and the lip is browned.
9. Slide the peel under the pizza and remove to the counter or a cutting board. Let it rest for at least 2 minutes before slicing with a chef’s knife or pizza cutter (one of my favorite multitaskers).
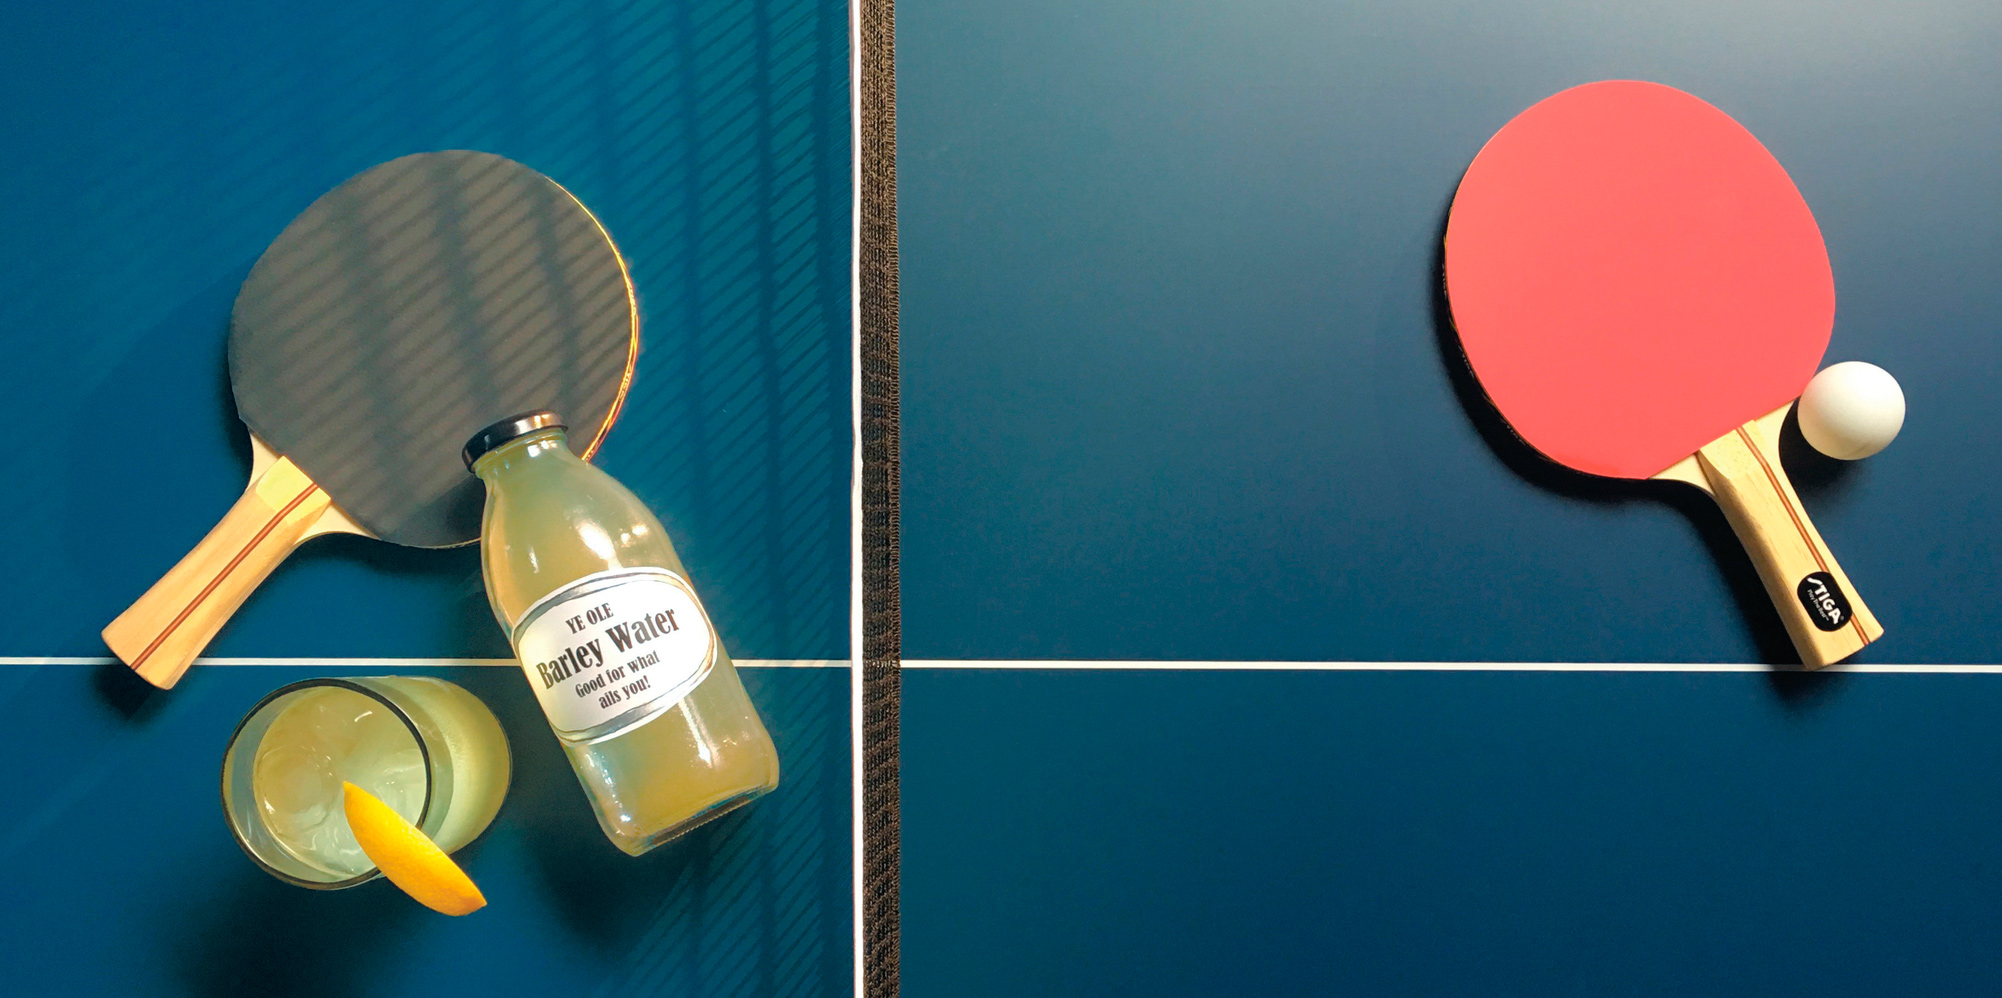
Barley Water
SERVES 8
Despite our health beverage mania (I know a place in L.A. that charges five bucks for lemon water laced with charcoal), Americans still aren’t hip to barley water. The Brits have been drinking it at Wimbledon since…well, for a long time. Barley is a great source of dietary fiber, which can fight arterial plaque and the rise of LDL cholesterol. It delivers magnesium, which can help control glucose levels, thus providing protection against type 2 diabetes.
Could you just eat more barley? Yes, and you should. But barley water is curiously satisfying and very thirst quenching. So why not drink some too?
2 quarts water
1 cup hulled barley
2 lemons
¼ cup orange blossom honey
1. Combine the water and barley in a medium saucepan, cover and bring to a boil over high heat. Reduce the heat to low and simmer for 30 minutes.
2. While the liquid cooks, peel the lemons with a vegetable peeler, being careful to avoid the bitter white pith. Juice the lemons into a 3-quart pitcher and add the lemon peel.
3. After 30 minutes, strain the barley water through a fine-mesh strainer into the pitcher. Discard the barley. Add the honey and stir to combine. Refrigerate until chilled.