DIY Nut Milks, Nut Butters, and More (2014)

Whether you’re a newbie to making milk from nuts or you’re already an old pro, this chapter is for you. We have a basic recipe for nut milks for beginners, and then we’ll dive into some fun flavored variations that show you how versatile nut milks can be. By the end of the chapter, making nut milk will seem so easy, you’ll wonder why you ever bought it in a store. For people with nut allergies, check out the Sunflower Seed Milk recipe, which makes a great alternative to nut milks.
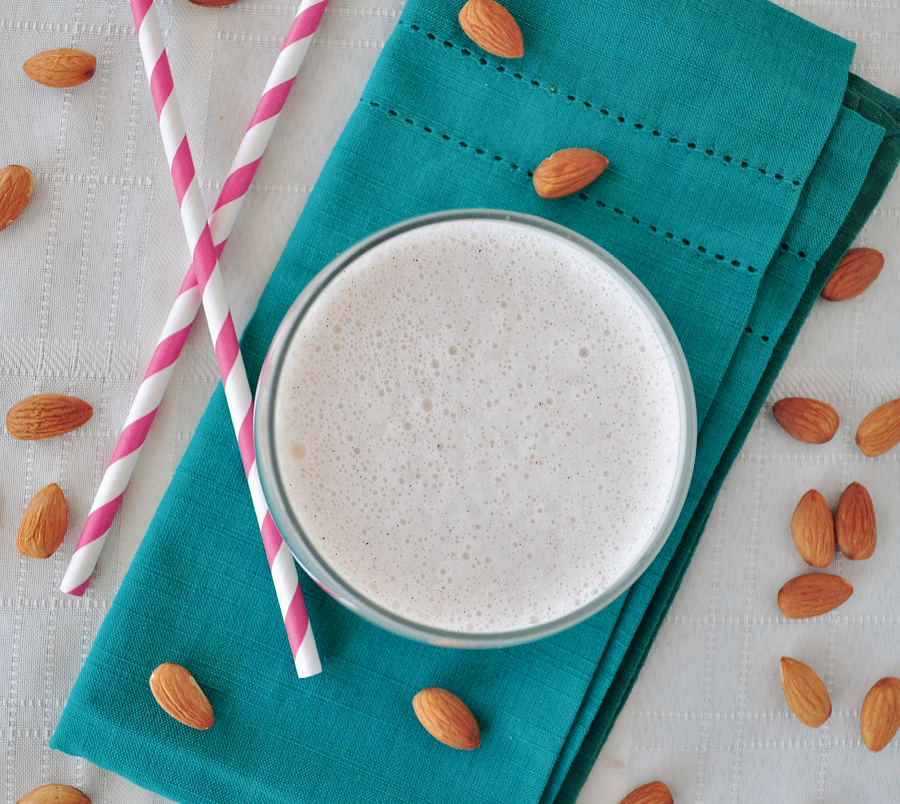
Basic Nut Milk
MAKING NUT MILK is an easy process that’s pretty consistent among varieties. The basic formula below is good for almonds, Brazil nuts, cashews, hazelnuts, and pistachios. All the nuts will need to be soaked ahead of time, preferably overnight. For more on soaking, read the Kitchen Tips. After blending, most nut milks need to be strained through a nut milk bag or fine cheesecloth. The best advice I can give is to be prepared ahead of time. Have all of your supplies laid out where they need to be. This will keep things neat—trust me.
MAKES 4 CUPS (960 ML)
1 cup raw, unsalted nuts, whole (125 g) or chopped (70 g)
3½ to 4 cups (840 to 960 ml) water
OPTIONAL SWEETENERS:
1 teaspoon ground vanilla beans
½ teaspoon vanilla extract
1 Medjool date, pit removed
1 tablespoon maple syrup
1 tablespoon raw honey
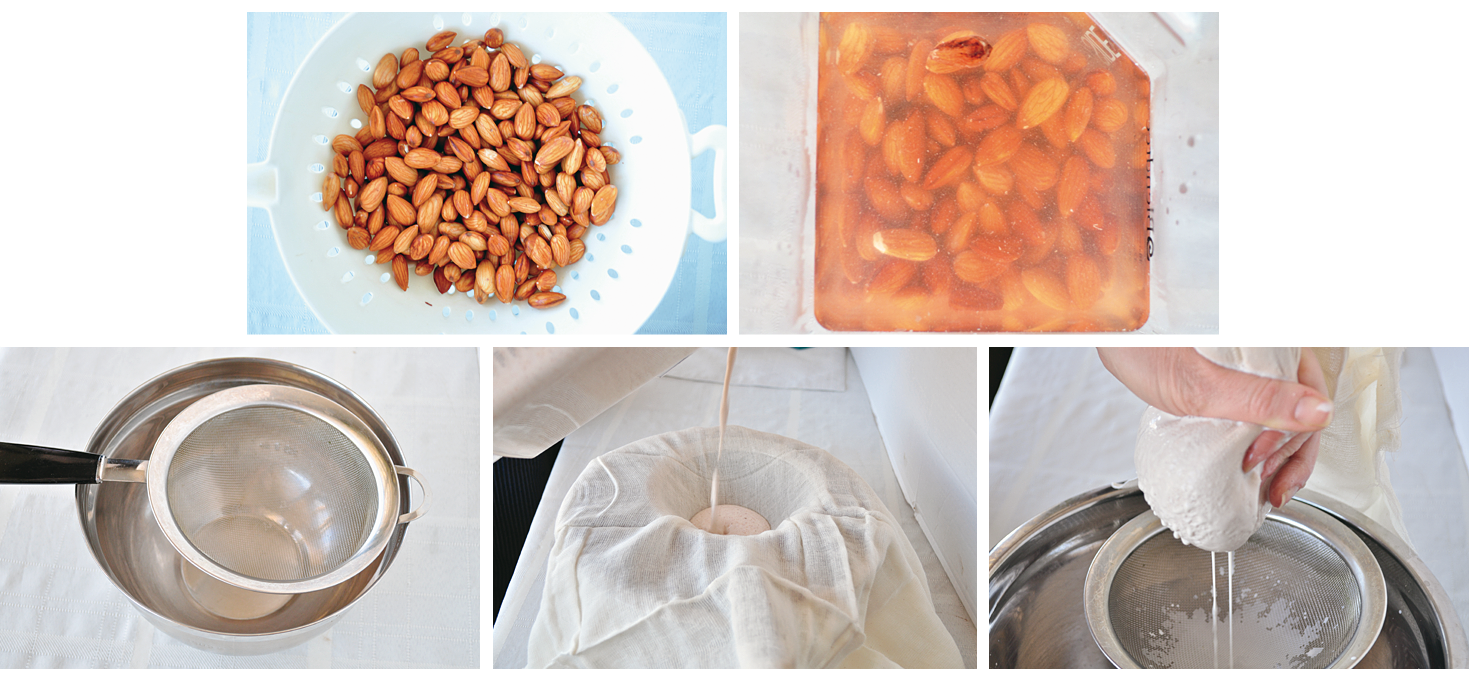
1. Soak the nuts overnight. I like to use a 32-ounce (960 ml) mason jar for this, with regular tap water. It doesn’t have to be a particular temperature. Place the nuts in the jar and then add enough water to cover them, plus an extra inch or two. The nuts will expand slightly during the soaking process. In the morning, drain and rinse the nuts well.
2. Add the nuts to a high-powered blender with 3½ cups (840 ml) of fresh water (see Notes below). Blend for 2 minutes. I use my Vitamix, starting out at a slow speed before working my way up to a higher one.
3. Set a fine-mesh strainer on top of a large bowl. Place a high-quality cheesecloth on top of the strainer, or use a nut milk bag instead.
4. Pour the contents of the blender into the cheesecloth or nut milk bag. At this point, I like to walk away and let gravity do most of the work on its own. It should take about 5 minutes or so for most of the liquid to end up in the bowl.
5. Gather the cheesecloth or nut milk bag in your hands and gently squeeze it. You’ll start to see a lot of liquid come out. Keep squeezing until you feel that all the liquid is gone. It can be quite the hand workout!
6. Add an optional sweetener, if desired, and then blend again for another 2 minutes.
7. Dump the excess pulp onto a parchment-lined baking sheet. It will be wet and clumpy. I use my fingers to break it up and spread it out on the baking sheet so that it dries out easily. Please don’t throw it away—there are an incredible number of uses for pulp, which we’ll explore later (see How to Use Nut Pulp).
8. Use a funnel to pour the nut milk into a glass storage jar, and store it in the refrigerator for 3 to 4 days, or in the freezer for up to 2 months.
NOTES
· If you decide to add a sweetener or two to this recipe, start with ground vanilla beans, which make things taste sweeter without raising the actual sugar content. Be sure to strain the milk before adding the sweetener. If you add the sweetener too early in the process, some of it will get caught in the cheesecloth, especially dates. I add the dates once I have strained the mixture, and then I blend everything again for another 2 minutes to make sure the ingredients are completely mixed. Note that if you use vanilla extract, you might be able to slightly taste the alcohol, since this recipe isn’t cooked.
· As you start playing around with the types of nuts you use, you’ll notice that not all of them need to be strained after they’re blended. Some, such as cashews and pistachios, create a very fine powder that goes straight through the cheesecloth. For those, I simply blend, pour, chill, and serve.
· Don’t be shocked when you take your milk out of the refrigerator and find that it’s separated. Just give it a good shake to mix it up again. Homemade nut milk doesn’t have added thickeners, emulsifiers, or stabilizers to keep the mixture homogeneous.
· If you don’t have a high-powered blender, you can use a regular blender. You’ll just need to make the milk in smaller batches—about ½ cup (65 g) of nuts to 1¾ cups (420 ml) of water at a time.
· Most nut milks will last 3 to 4 days in the refrigerator, which should be plenty of time if you use them regularly in coffee, cereal, and recipes. The somewhat short life span is why I don’t make it in large batches. Store-bought milks tend to last longer because they have added preservatives.
PREP TIME: About 15 minutes (not including the overnight soak), plus 2 hours if drying the pulp for later use (see How to Use Nut Pulp)

Chocolate Cashew Milk
IT SEEMS THAT every kid loves chocolate milk, and what adult doesn’t reminisce about drinking the thick, sweet stuff? Well, here’s a healthier, grown-up version for you. It’s a luxurious milk that makes an amazing hot chocolate on cold, snowy days or works wonderfully as an after-dinner drink. The recipe is easy, as well: simply blend, pour, and enjoy—no straining required. Chocolate isn't the only delicious, satisfying flavor you can add to your nut milks! The next few recipes will show you just how versatile nuts can be.
MAKES 4 CUPS (960 ML)
1 cup (130 g) raw, unsalted cashews, soaked overnight
3½ cups (840 ml) water
One 3.5-ounce (100 g) dark chocolate bar or ½ cup (80 g) chocolate chips
1 tablespoon unsweetened cocoa powder
1 teaspoon cinnamon
2 Medjool dates, pits removed
1. Drain and rinse the cashews.
2. Chop the chocolate bar roughly. There’s no need to chop it finely, since you’ll be putting it into the blender.
3. Add all the ingredients to a high-powered blender and blend until smooth, about 2 to 3 minutes.
4. Serve the milk immediately, or store it in the refrigerator for later use. It will keep for 3 to 4 days.
NOTE
You can strain the milk if you like, but it isn’t really necessary with cashew milk, since the nuts are naturally soft and blend easily.
VARIATIONS
· You can replace the Medjool dates with 2 teaspoons of raw honey or pure maple syrup if you prefer. I just like the way the dates sweeten the milk.
· A fun idea is to pour the chocolate cashew milk into freezer-pop molds. They will need at least 6 hours to firm up in the freezer, but when they do, you’ll have some dairy-free “Fudgsicles,” which make a delightful treat on a hot day.
PREP TIME: 10 minutes (not including the overnight soak)
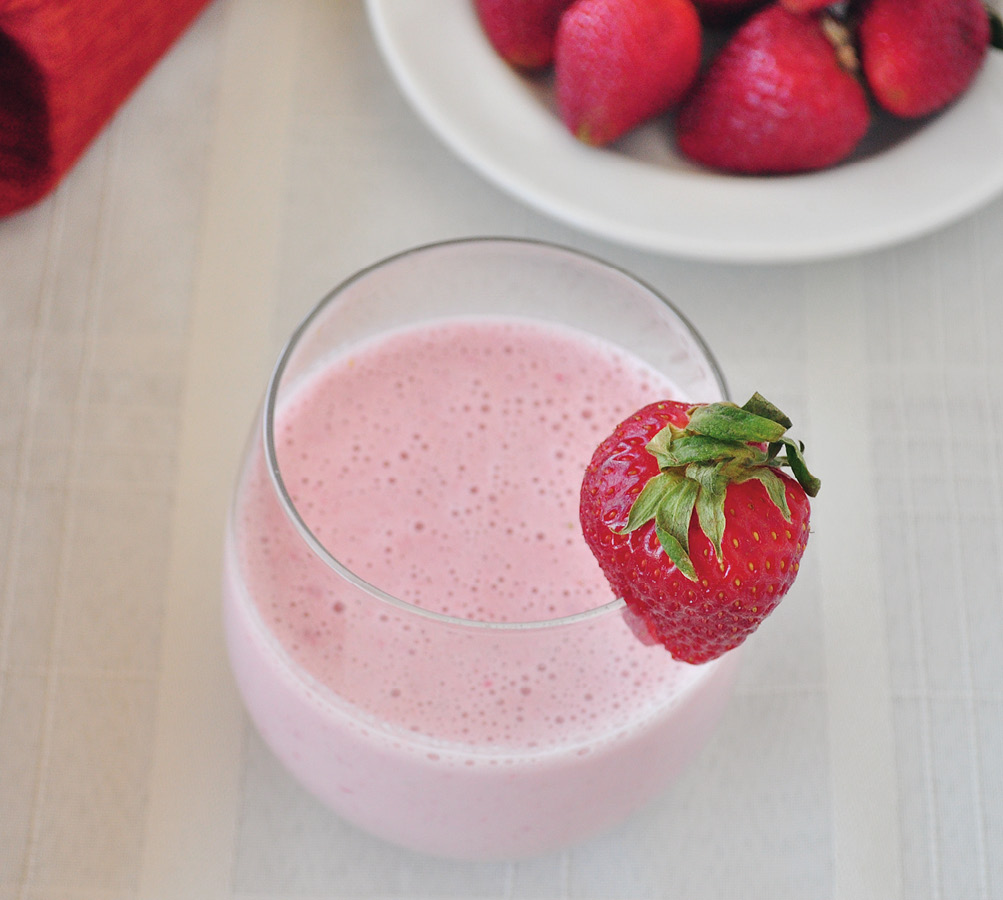
Strawberry Brazil Nut Milk
BRAZIL NUTS PRODUCE extremely thick, velvety milk that could be considered the full-fat version of the nut milk world. I regularly drink it on its own, but my kids love flavored milk, so I created this recipe with them in mind. I typically use strawberries, as the recipe suggests, but it works well with any berry, even frozen ones if fresh aren’t available because of the season or location. If you choose to use frozen berries, just make sure they’re thawed before starting the recipe.
MAKES 1½ CUPS (360 ML)
1 cup (240 ml) Brazil nut milk (see Basic Nut Milk)
1 cup (125 g) sliced strawberries (fresh, or frozen and thawed)
1 teaspoon ground vanilla beans
1. Combine all the ingredients in a blender and mix for 1 to 2 minutes at high speed. A high-powered blender is ideal; a regular blender or Magic Bullet will also do the job, although you might have to blend the ingredients a little longer.
2. You can drink the strawberry milk as is or, if desired, pour it through a fine-mesh strainer to remove the pulp. Either way works—it depends on your preference.
3. Serve the milk immediately, or store it in the refrigerator for later use. It will keep for up to 3 days.
NOTES
· If you’re using tart strawberries, you can add a sweetener. I recommend 1 Medjool date or 2 teaspoons of pure maple syrup.
· You can substitute an equal quantity of vanilla extract for the vanilla beans, but you might be able to slightly taste the alcohol if you do, since this recipe isn’t cooked.
PREP TIME: 5 minutes (not including the overnight soak)
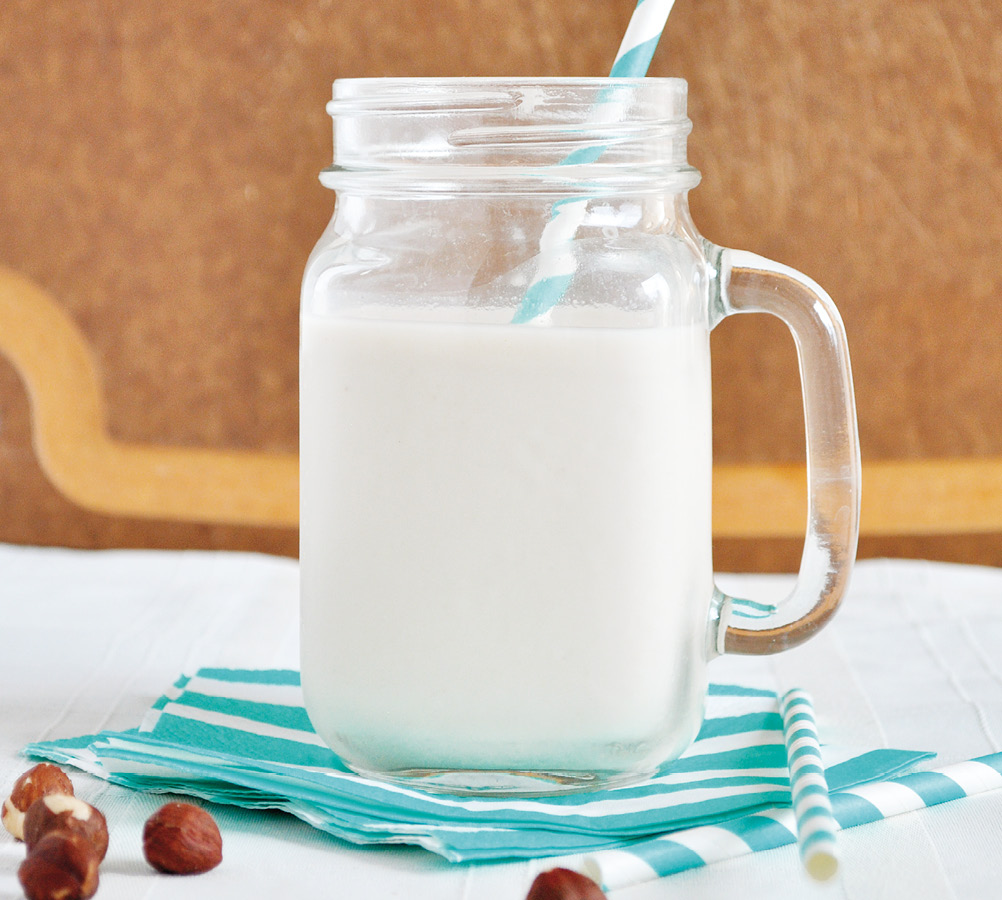
Vanilla Hazelnut Milk
I’VE NEVER MET anyone who doesn’t love hazelnuts (also known as filberts). They make an excellent butter, which is magnificent when mixed with chocolate, as in my Chocolate Hazelnut Spread. Here’s a way to enjoy them as a milk. This drink will remind you why hazelnuts are universally adored. It has a luxurious flavor that keeps me coming back for more. I even put it in my morning coffee as a creamer. Plus the pulp is like a gift that keeps on giving—try it in the Grain-Free Energy Bites or Protein-Packed Snack Balls. I can’t say enough about the virtues of this nut.
MAKES 4 CUPS (960 ML)
1 cup (135 g) raw, unsalted hazelnuts, soaked overnight
3½ cups (840 ml) water
1 teaspoon ground vanilla beans
1. Drain and rinse the hazelnuts.
2. Add the nuts and water to a high-powered blender (see Ingredients if you don’t have one of these), and blend until smooth, about 2 to 3 minutes.
3. Set a fine-mesh strainer on top of a large bowl. Place a high-quality cheesecloth on top of the strainer, or use a nut milk bag instead.
4. Slowly pour the milk into the cheesecloth or nut milk bag, making sure not to overfill the container. You will need to do this in batches to avoid making a mess.
5. Gather the cheesecloth or nut milk bag in your hands, and gently squeeze it. Keep squeezing until you feel that all the liquid is gone.
6. Dump the leftover pulp onto a parchment-lined baking sheet (see How to Use Nut Pulp).
7. Repeat these steps until all the milk is extracted.
8. Pour the milk back into the blender, and add the vanilla and a sweetener if you choose (see Notes below). Briefly blend.
9. Serve the milk immediately, or store it in the refrigerator for later use. It will keep for up to 4 days.
NOTES
· You can substitute vanilla extract for the vanilla beans, but you might be able to slightly taste the alcohol if you do, since this recipe isn’t cooked.
· If you want a sweeter milk, try blending in 1 to 2 Medjool dates (my personal favorite) or 2 teaspoons of maple syrup. Adding stevia is another possibility, but it can leave a slightly bitter aftertaste, so I don’t recommend it. However, if you’re used to the taste of stevia, feel free to mix in 2 to 3 drops.
PREP TIME: About 15 minutes (not including the overnight soak)
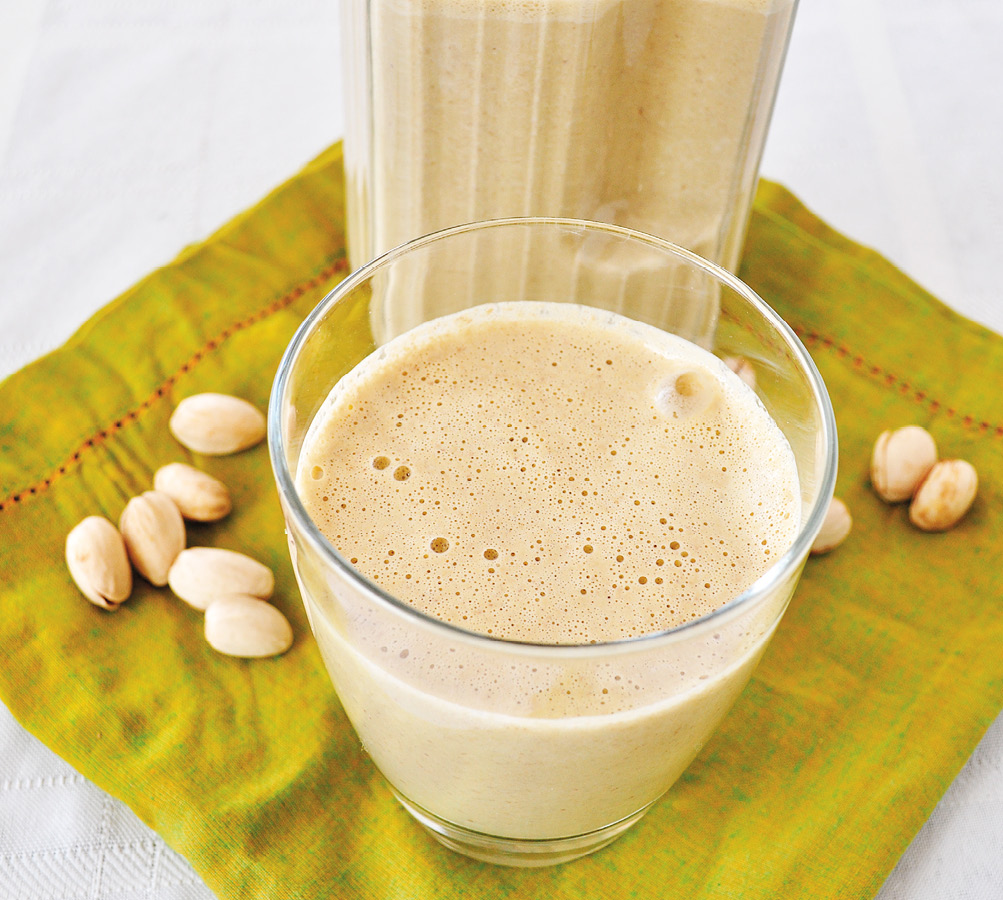
Spiced Pistachio Milk
PISTACHIO MILK IS one of the easiest nut milks to make. There’s no straining necessary, and it makes a super-creamy milk that tastes magnificent in your morning coffee. To make this recipe even better, I’ve added some spices that pair well with its rich texture. This is one drink you’ll want to make over and over again. I advise you to buy unsalted, shelled pistachios. Purchasing unshelled pistachios is fine, but it makes for a long and frustrating preparation.
MAKES 6 CUPS (1.4 L)
1 cup (125 g) raw, unsalted pistachios, soaked overnight
3½ cups (840 ml) water
1 teaspoon cinnamon
¼ teaspoon ground ginger
¼ teaspoon ground nutmeg
2 Medjool dates, pits removed
1. Drain and rinse the pistachios.
2. Add the pistachios, water, cinnamon, ginger, and nutmeg to a high-powered blender (see Ingredients if you don’t have one of these). If you have a variable-speed blender, start on a low setting and work your way up to high over a period of 1 to 2 minutes. If you don’t have a variable-speed blender, simply mix on high for 1 to 2 minutes.
3. Set a fine-mesh strainer on top of a large bowl, and slowly pour the mixture through the strainer. There really shouldn’t be much to strain; I don’t use a cheesecloth at all for this recipe.
4. Pour the milk back into the blender and add the dates. Blend for 2 minutes to make sure the dates are completely ground up.
5. Serve the milk immediately, or store it in the refrigerator for later use. It will keep for 3 to 4 days
PREP TIME: About 15 minutes (not including the overnight soak)
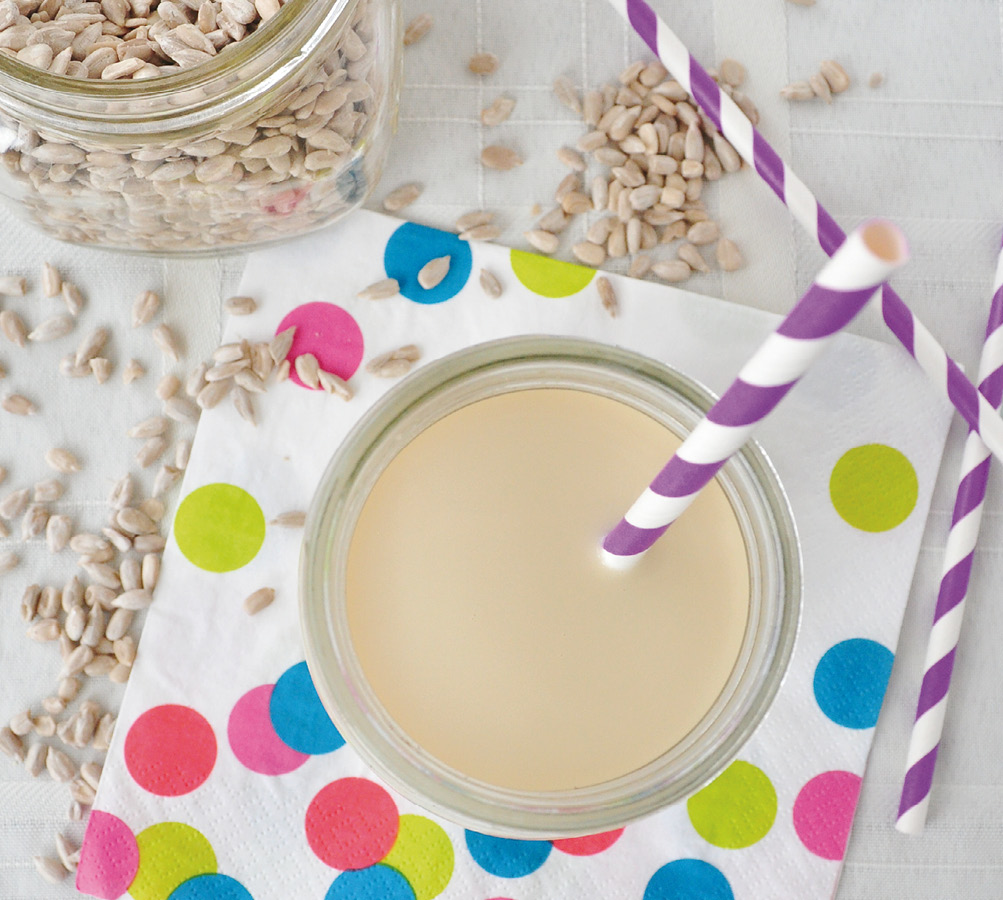
Sunflower Seed Milk
I KNOW SUNFLOWER seeds aren’t nuts, but I wanted to include them, since so many people suffer from nut allergies these days. It may seem unbelievable, but you can actually make milk from these tiny seeds. You can create sunflower butter, too—check out the Sunflower Seed Butter recipe. The process for making Sunflower Seed Milk is very simple and really no different than making nut milk.
MAKES 3 CUPS (720 ML)
1 cup (140 g) raw, unsalted sunflower seeds (soaked overnight)
4 cups (960 ml) water
1. Drain and rinse the sunflower seeds.
2. Place the seeds in a blender with 4 cups (960 ml) of fresh water. Blend on high for 1 to 2 minutes.
3. Set a fine-mesh strainer on top of a large bowl. Place a high-quality cheesecloth on top of the strainer.
4. Slowly pour the milk into the cheese-cloth, making sure not to put too much in at once. You will need to do this in batches to avoid making a mess.
5. Gather the cheesecloth in your hands, and gently squeeze it. Keep squeezing until you feel that all the liquid is gone.
6. Dump the leftover pulp onto a parchment-lined baking sheet (see How to Use Nut Pulp).
7. Repeat these steps until all the milk is extracted.
8. Place a funnel on top of the storage container for your milk and pour in the liquid. I like to use 32-ounce (960 ml) glass mason jars, which fit this recipe perfectly.
9. Serve the milk immediately, or store it in the refrigerator for later use. It will keep for 3 to 4 days
NOTES
· If you’ve ever tried rice milk, you know that it has a thin texture, especially compared to nut milk. Sunflower Seed Milk is very similar in that aspect. If you want it slightly thicker, you can add 2 teaspoons of arrowroot to the milk after you pour it into the storage container. Simply mix well.
· You can add a tablespoon of honey or pure maple syrup if you like your milk a little sweet. Add the sweetener after you strain the mixture, and then blend again for another minute to make sure everything is completely mixed.
PREP TIME: About 20 minutes (not including the overnight soak)
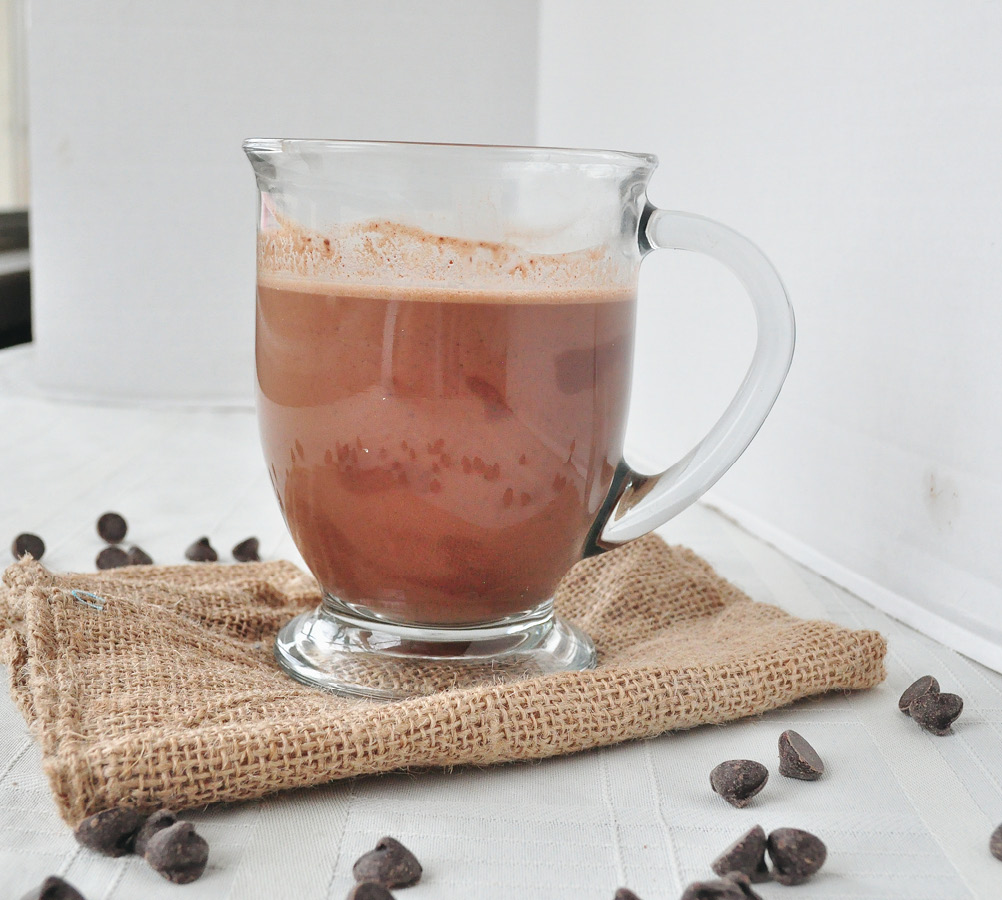
Hot Chocolate Cashew Milk
IN THE DEAD of winter we can all go for a little coziness, and there’s something delightfully comforting about warm milk. We may think of nut milk as a cold refreshment, but it can be used to make some delicious hot drinks, too. Cashew milk is incredibly creamy by nature, making it the perfect base for hot chocolate, and, luckily, this recipe is oh-so-easy to make. I add a little cinnamon to spice it up, and nutmeg can be a nice touch as well. If you like an extra bit of heat, try including a pinch of cayenne. See the Bonus Recipe for Coconut Whipped Cream below to make this an even more deluxe treat.
MAKES TWO 1-CUP (240 ML) SERVINGS
2 cups (480 ml) cashew milk (see Basic Nut Milk)
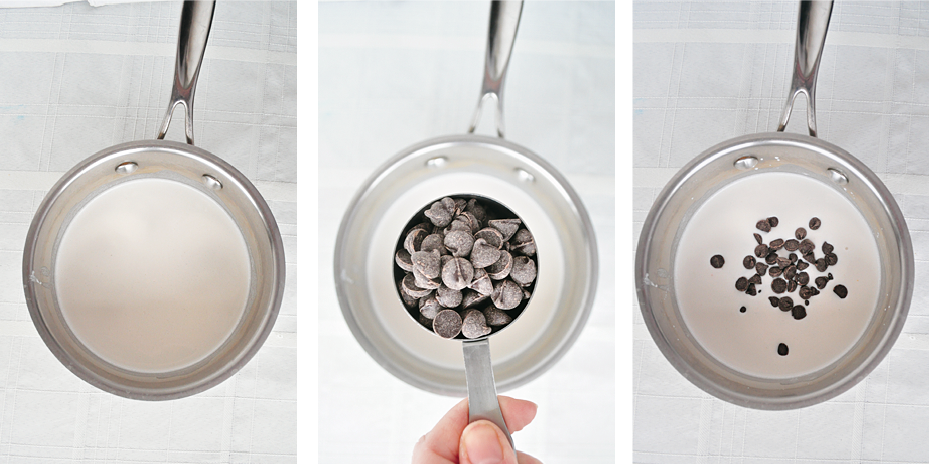
Heaping ¼ cup (40 g) dark chocolate chips
3 tablespoons unsweetened cocoa powder
½ teaspoon cinnamon
2 tablespoons pure maple syrup, optional
1. Mix all the ingredients in a saucepan over medium heat. You can add maple syrup if you like your drinks a little sweeter, but personally I don’t think it needs it.
2. Stir until all the ingredients are mixed and the chocolate chips have melted, 5 to 7 minutes. Serve immediately.
VARIATIONS
· Try adding a shot of espresso to make this a mocha drink.
· If you have a milk frother, you can froth a bit of extra nut milk on top to create a homemade cappuccino.
PREP TIME: About 10 minutes, not including Coconut Whipped Cream
 Coconut Whipped Cream
If you want a dollop of whipped cream on top of your hot chocolate, you can easily make it with coconut milk. All you need is one 14-ounce (400 ml) can of full-fat coconut milk and 1 to 2 teaspoons of pure maple syrup.
Refrigerate the unopened can of coconut milk overnight. When you open it the next morning, you’ll see that the fatty part of the coconut milk has separated from the water. That fatty part makes the most wonderful, dairy-free whipped cream!
Spoon out the fatty part of the coconut milk into a small mixing bowl. You can freeze the leftover coconut water in ice cube trays to add to smoothies. Using the whipping attachment on your mixer, whip the coconut fat into a cream. This will take 2 to 3 minutes on high speed. The result should resemble a whipped cream made from heavy dairy cream. I highly recommend using the whipped cream right away, since it will harden if you refrigerate it.
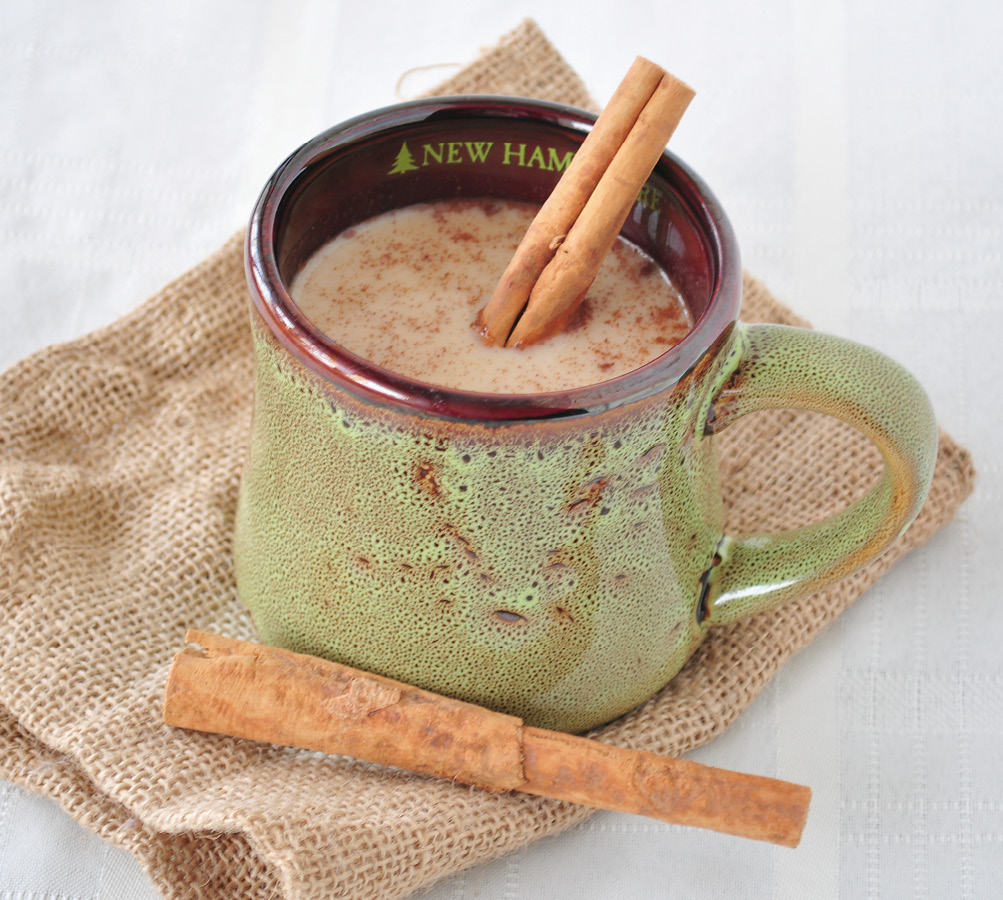
Spiced Chai Milk
SERVED WARM AND with a little touch of spice, this drink is perfect for relaxing after a busy day. It’s also delicious chilled and used as a coffee creamer.
MAKES 1 CUP (240 ML)
1 cup (240 ml) nut milk of choice (see Basic Nut Milk)
1 teaspoon pure maple syrup
½ teaspoon cinnamon
½ teaspoon ground vanilla beans
¼ teaspoon ground nutmeg
1. Place all the ingredients in a blender or Magic Bullet and blend for 1 to 2 minutes on high, until the ingredients are well mixed.
2. Pour the mixture into a small saucepan and place over medium heat, stirring every few minutes until it reaches the temperature you desire. Make sure to watch it closely; it can quickly bubble over if you’re not careful.
3. Serve the milk immediately, or refrigerate it for up to 4 days for use as a coffee creamer.
NOTE
I highly recommend using almond milk or Brazil nut milk in this recipe. Both have creamy textures that work well with these flavors.
PREP TIME: 5 to 7 minutes